
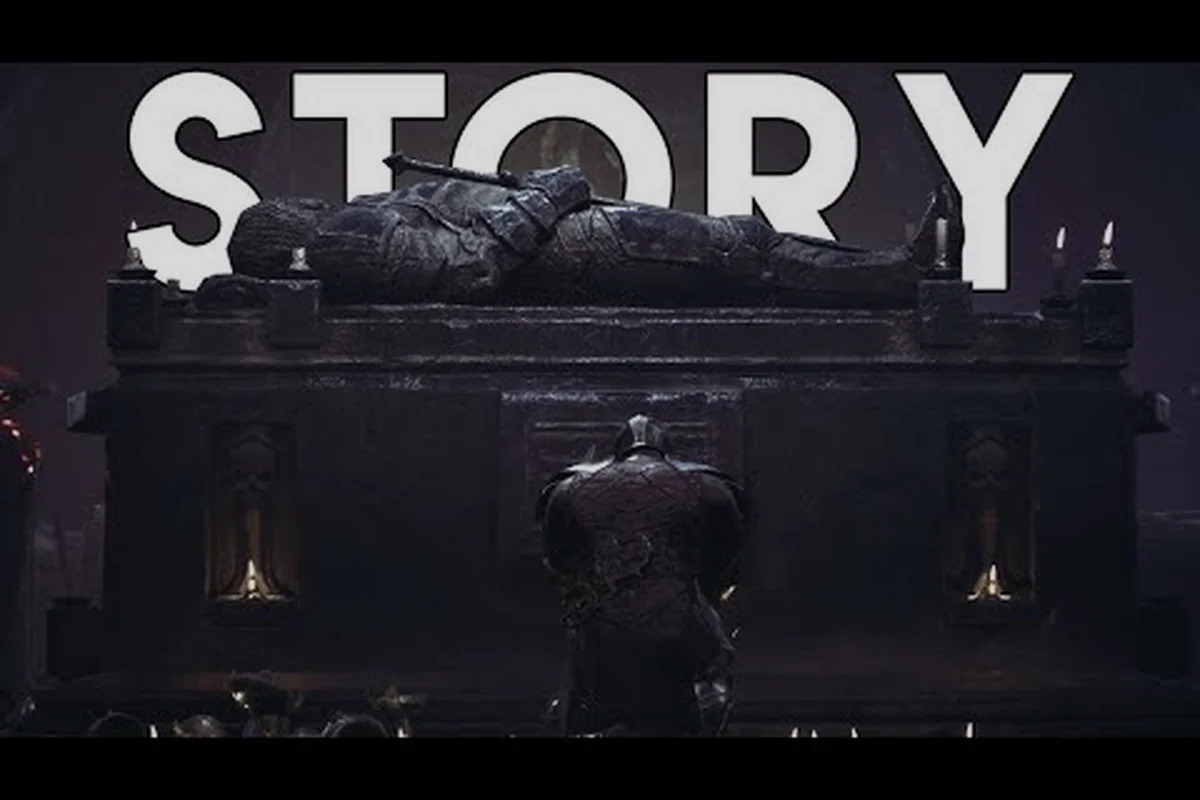
Figuring out Mortal Shell II how to get all endings is one of the most searched questions among players who want to see every finale without replaying the entire campaign three times. The good news is that Cold Symmetry designed the branching paths around a handful of late-game decisions rather than hidden collectible checklists, so a single well-planned run can unlock every conclusion if you know exactly when to save and which NPC oaths to honor. Because the game launches August 20, 2026 on Steam, PS5, and Xbox Series X|S, the community is still mapping the exact trigger conditions, but the core structure is already confirmed through the open beta and official previews.
This guide breaks down every ending requirement, the New Game Plus carryover rules, and the combat fundamentals you will need to survive the final gauntlet. We will also cover the harden and parry mechanics that separate players who reach the true ending from those who stall at the penultimate boss.
To unlock the secret ending, you’ll need to follow a specific sequence of choices—and if you’re unsure how your actions affect the protagonist’s state, our guide on Shell Possession Explained clarifies the mechanics before you commit.
Understanding the Ending Structure and Branching Logic
The ending system in Mortal Shell II does not rely on a simple morality meter or a single binary choice at the final door. Instead, the finale is determined by three distinct narrative threads that converge during the last act, and each thread has its own checkpoint that locks in your path. According to community data from the open beta, the game tracks your decisions across the Unfound Path, the Hollowed Covenant, and the Foundling's Resolve — three parallel questlines that intersect with the main story.
The critical detail is that none of these threads require a full second playthrough. You can reach every ending by reloading a save from the Threshold of Silence, the final rest point before the endgame sequence. This is why the community recommends keeping a manual backup at that location rather than relying solely on the autosave system.
| Ending Name | Primary Requirement | Missable Element | Difficulty |
|---|---|---|---|
| The Hollow Throne | Defeat the final boss without completing the Foundling's Resolve | None | Low |
| The Unbound Path | Complete the Foundling's Resolve and refuse the Crown | Requires all 3 Resolve fragments | Medium |
| The Eternal Shell | Complete the Foundling's Resolve and accept the Crown | Requires all 3 Resolve fragments + max Shell affinity | High |
The Hollow Throne ending is the default conclusion that most players will see on their first run, since it only requires you to push through the main story without engaging with the optional questlines. The Unbound Path and Eternal Shell endings demand that you finish the Foundling's Resolve questline, which involves locating three hidden fragments scattered across the world.
Because the harden ability lets you absorb a hit while standing still, it becomes essential for surviving the optional boss fights that guard these fragments. You will need to master the timing of your harden activation to weather the multi-hit combos that these encounters throw at you, especially when you are underleveled for the content.
The Three Resolve Fragments
Each fragment is tied to a specific region and requires a different approach to obtain. The first fragment sits in the Sunken Chapel, guarded by a mini-boss that punishes players who forget to use their parry windows effectively. The second fragment is hidden in the Ashen Mire, accessible only after you unlock a shortcut by defeating the area's optional elite. The third fragment requires you to complete a shell-specific quest for the character you are currently inhabiting.
| Fragment | Location | Key Mechanic | Recommended Level |
|---|---|---|---|
| Fragment of Memory | Sunken Chapel | Parry the Warden's charge attack | Level 25+ |
| Fragment of Will | Ashen Mire | Harden through the poison pools | Level 30+ |
| Fragment of Self | Shell-specific quest | Varies by Shell | Level 35+ |
The parry guide fundamentals matter here because the Warden in the Sunken Chapel has a telegraphed charge attack that leaves a two-second window for a perfect parry. Missing this window means eating a full combo that can one-shot underleveled players, so practicing your parry timing on the regular enemies before attempting this fight is strongly recommended.
New Game Plus and Ending Carryover Mechanics
The Mortal Shell II new game plus guide is essential reading for anyone who wants to see alternate endings without starting from scratch. New Game Plus unlocks after you complete the campaign once, regardless of which ending you achieved, and it carries over your Shell upgrades, weapon levels, and Tarstone collection progress.
What does not carry over are the quest items and Resolve fragments, which means you will need to recollect them in each New Game Plus cycle. This is actually a blessing in disguise, because it allows you to experience the questlines fresh while keeping your combat power intact.
| Carryover Item | New Game Plus 1 | New Game Plus 2 | New Game Plus 3 |
|---|---|---|---|
| Shell upgrades | Yes | Yes | Yes |
| Weapon levels | Yes | Yes | Yes |
| Tarstones | Yes | Yes | Yes |
| Resolve fragments | No | No | No |
| Quest items | No | No | No |
| Boss remembrances | Yes | Yes | Yes |
The enemy scaling in New Game Plus is aggressive, with enemy posture values increasing by roughly 40 percent per cycle according to player reports. This is where the Posture system becomes your best friend, since breaking an enemy's posture with a well-timed parry or a charged harden counterattack deals critical damage regardless of their level.
Because the game is unrestricted by stamina, you can chain aggressive attacks and harden through retaliatory strikes without worrying about exhausting your meter. This makes the New Game Plus cycles more about positioning and timing than resource management, which is a welcome shift from the first Mortal Shell's stamina-focused combat.
Optimal New Game Plus Route for Endings
If your goal is to collect all endings efficiently, the community recommends a specific route through the New Game Plus cycles. On your first playthrough, aim for the Hollow Throne ending by ignoring the optional questlines entirely. This gets you to New Game Plus quickly and unlocks the boss remembrance shop, which sells powerful endgame gear.
On your second cycle, focus on the Foundling's Resolve questline and collect all three fragments. This allows you to see both the Unbound Path and Eternal Shell endings by using the save backup at the Threshold of Silence. You can complete the final sequence twice from that single checkpoint, which means you only need two full playthroughs to see all three endings.
| Playthrough | Ending Target | Required Actions | Time Investment |
|---|---|---|---|
| First Run | Hollow Throne | Main story only | 25-30 hours |
| New Game Plus 1 | Unbound Path + Eternal Shell | Complete Resolve questline, save backup | 15-20 hours |
| New Game Plus 2 | Any missed endings | Cleanup and achievement hunting | 10-15 hours |
The achievement tracker on Steam confirms that all three endings have associated achievements, and the New Game Plus achievements require you to complete the campaign on higher cycles. This means you will naturally unlock most of the ending-related achievements through this route without excessive grinding.
Mastering Harden for the Endgame Gauntlet
The Mortal Shell II harden guide is not just about surviving — it is about creating offensive opportunities that would otherwise be impossible. When you activate harden, your character becomes stone and absorbs a single hit without taking damage, but the ability also interrupts enemy combos and leaves them open for a counterattack.
The key insight that most players miss is that harden can be activated mid-animation. You can start a heavy attack, then harden during the wind-up, absorb the enemy's strike, and complete the attack with full force. This technique, known as the hardened strike, is the cornerstone of high-level play in the endgame.
| Harden Technique | Input Timing | Best Used Against | Risk Level |
|---|---|---|---|
| Basic Harden | Hold L2/LT before impact | Single heavy attacks | Low |
| Hardened Strike | Attack then Harden mid-windup | Boss combos with gaps | Medium |
| Harden Cancel | Harden then immediately roll | Multi-hit combos | High |
| Riposte Harden | Parry then Harden during riposte | Aggressive bosses | High |
The harden cancel is particularly useful in the final gauntlet, where the last boss chains together five-hit combos that cannot be fully blocked. By hardening through the first hit and rolling out of the remaining strikes, you conserve your Shell's integrity while maintaining pressure.
According to the Fextralife preview, Tiel returns with shadow-enhanced dodges that synergize beautifully with harden. His unique ability lets you dodge through attacks while leaving a shadow clone that absorbs the next hit, effectively giving you a second harden charge. This makes Tiel the recommended Shell for the endgame if you are struggling with the final boss's relentless aggression.
Shell-Specific Harden Strategies
Each of the eight playable Shells has a unique relationship with the harden mechanic, and choosing the right one for the ending sequence can dramatically change your experience. The durability-focused tanks can harden more frequently, while the shadow-dancing acolytes trade durability for mobility.
| Shell | Harden Duration | Special Interaction | Recommended Ending |
|---|---|---|---|
| Tiel | Short | Shadow clone on dodge | Unbound Path |
| Eredrim | Long | Bonus damage on hardened strikes | Eternal Shell |
| Solomon | Medium | Harden restores Resolve | Any |
| Harros | Medium | Faster recovery after break | Hollow Throne |
The all shells guide on this site covers the full roster, but for the ending sequence specifically, Eredrim stands out because his bonus damage on hardened strikes lets you shred the final boss's posture bar in just a few exchanges. This is particularly valuable for the Eternal Shell ending, which requires you to defeat an optional super-boss that appears only when you accept the Crown.
Parry Timing and Riposte Takedowns
The Mortal Shell II parry guide essentials become critical during the last act, where several enemies have attacks that cannot be blocked or hardened through. These unblockable attacks glow red before they land, and the only reliable counter is a perfectly timed parry that opens the enemy to a Riposte Takedown.
The parry window in Mortal Shell II is generous compared to other soulslikes, lasting roughly 0.4 seconds from the moment you press the button. However, the recovery animation is long, so a mistimed parry leaves you vulnerable for a full second. This creates a risk-reward dynamic where you must read enemy patterns rather than spam the button.
| Enemy Type | Parry Window | Riposte Damage | Posture Break |
|---|---|---|---|
| Basic Soldiers | 0.4s | 150% | Yes |
| Elite Knights | 0.35s | 200% | Yes |
| Bosses | 0.3s | 250% | Partial |
| Unblockable Attacks | 0.25s | 300% | Yes |
The Riposte Takedowns deliver over a dozen brutal executions according to the Fextralife preview, and each execution restores a portion of your Resolve meter. This makes parry a self-sustaining strategy in the endgame, since the Resolve gained from executions fuels your Shell abilities and hardened strikes.
For the final boss specifically, the community has identified a reliable parry loop. The boss's third attack in every combo is always the unblockable charge, which has a 0.25-second parry window. By counting attacks and parrying on the third strike, you can consistently trigger Riposte Takedowns that deal massive damage and interrupt the boss's rhythm.
Combining Parry and Harden for Maximum Efficiency
The most advanced technique in the endgame combines both defensive mechanics into a single flow. When you see an enemy winding up an unblockable attack, you have two options: parry for the riposte damage, or harden to absorb the hit and counter with a hardened strike.
The optimal choice depends on your current Resolve meter and the enemy's remaining health. If your Resolve is full and the enemy is below 30 percent health, parry into a Riposte Takedown is the better option because the execution damage is percentage-based. If your Resolve is empty and the enemy is at full health, harden through the attack and follow up with a heavy combo to build Resolve.
| Scenario | Recommended Action | Reasoning |
|---|---|---|
| Full Resolve, low enemy HP | Parry + Riposte | Execution damage scales with enemy HP |
| Empty Resolve, full enemy HP | Harden + heavy combo | Builds Resolve while dealing damage |
| Mid-Resolve, mid-HP | Parry + light combo | Balances risk and reward |
| Multiple enemies | Harden + roll away | Avoids getting surrounded |
This decision framework is what separates players who struggle with the endgame from those who breeze through it. The Posture system rewards aggressive play, but only when you can parry and harden effectively to avoid taking damage while building pressure.
Save Management and Ending Checkpoints
The most practical advice for Mortal Shell II how to get all endings is proper save management. The game features a single autosave slot, but you can manually back up your save files on PC by navigating to the save directory and copying the files. This allows you to branch your playthrough at critical decision points without starting a new game.
The Threshold of Silence is the most important checkpoint for ending purposes. This rest point appears immediately before the final boss arena, and it is the last place where you can freely travel, upgrade your Shell, and change your equipment. Once you enter the boss arena, you are locked into the ending sequence until you defeat the boss.
| Checkpoint | Location | Branching Potential | Recommended Backup |
|---|---|---|---|
| Threshold of Silence | Before final boss | All 3 endings | Yes |
| The Hollowed Covenant | Mid-game decision | 2 endings | Optional |
| Foundling's Resolve completion | After 3rd fragment | 2 endings | Yes |
The Hollowed Covenant decision point occurs roughly halfway through the game, where you choose whether to ally with the Hollowed faction or remain independent. This choice affects which NPCs appear in the endgame and which dialogue options are available, but it does not lock you out of any ending. The community reports that the Unbound Path ending requires you to have allied with the Hollowed, while the Eternal Shell ending is available regardless of this choice.
For console players who cannot easily back up save files, the recommended approach is to complete the Foundling's Resolve questline and then make your final choice at the Threshold of Silence. The game presents you with the Crown decision after defeating the final boss, and you can reload the autosave from the Threshold of Silence to experience the other outcome.
The Crown Decision Explained
The final choice that determines whether you see the Unbound Path or Eternal Shell ending happens after the final boss is defeated. A cutscene plays where the Foundling is offered the Crown of the Unfound, and you must choose to accept or refuse it.
| Choice | Ending | Reward | New Game Plus Impact |
|---|---|---|---|
| Refuse the Crown | Unbound Path | Unbound Crown cosmetic | None |
| Accept the Crown | Eternal Shell | Eternal Shell armor set | Unlocks secret boss |
Accepting the Crown triggers an additional boss fight against the Eternal Shell, a super-boss that is significantly harder than the final boss. Defeating this optional encounter rewards the Eternal Shell armor set, which provides the highest defensive stats in the game. Refusing the Crown skips this fight and immediately transitions to the ending cutscene.
The Eternal Shell boss fight is where your harden and parry skills are truly tested. This boss has a massive health pool and a moveset that combines the attacks of every previous boss, making it a true gauntlet of everything you have learned. According to player reports, the fight takes between 10 and 15 minutes on the first attempt, with most deaths occurring from mistimed parries on the boss's unblockable grab attack.
Frequently Asked Questions
Can I get all endings in one playthrough of Mortal Shell II?
Yes, but only with save backups. The game's branching decisions occur at the Threshold of Silence checkpoint, so you can complete the Foundling's Resolve questline, defeat the final boss, and then reload your save to experience both the Unbound Path and Eternal Shell endings. Without save backups, you need at least two playthroughs to see all three endings.
What carries over into Mortal Shell II New Game Plus?
Your Shell upgrades, weapon levels, Tarstones, and boss remembrances all carry over into New Game Plus. However, quest items and Resolve fragments reset, so you must recollect them each cycle. Enemy scaling increases by roughly 40 percent per cycle, making harden and parry mechanics essential for survival.
How do I unlock the Eternal Shell ending?
You must complete the Foundling's Resolve questline by collecting all three fragments, then accept the Crown after defeating the final boss. This triggers an optional super-boss fight against the Eternal Shell. Defeating this boss rewards the Eternal Shell armor set and unlocks the ending cutscene.
What is the best Shell for the ending sequence?
Eredrim is the strongest choice for the endgame because his bonus damage on hardened strikes lets you break boss posture quickly. Tiel is also excellent if you prefer mobility, since his shadow clone effectively gives you a second harden charge. The choice ultimately depends on whether you favor offense or defense.
Is the parry window different for bosses in Mortal Shell II?
Yes, boss parry windows are tighter—roughly 0.3 seconds versus 0.4 for regular foes, and 0.25 for unblockable attacks. Master timing on basic enemies first. For all endings, parry discipline matters most on the Unbound Path, where a mistimed block can lock you out of the Eternal Shell.