
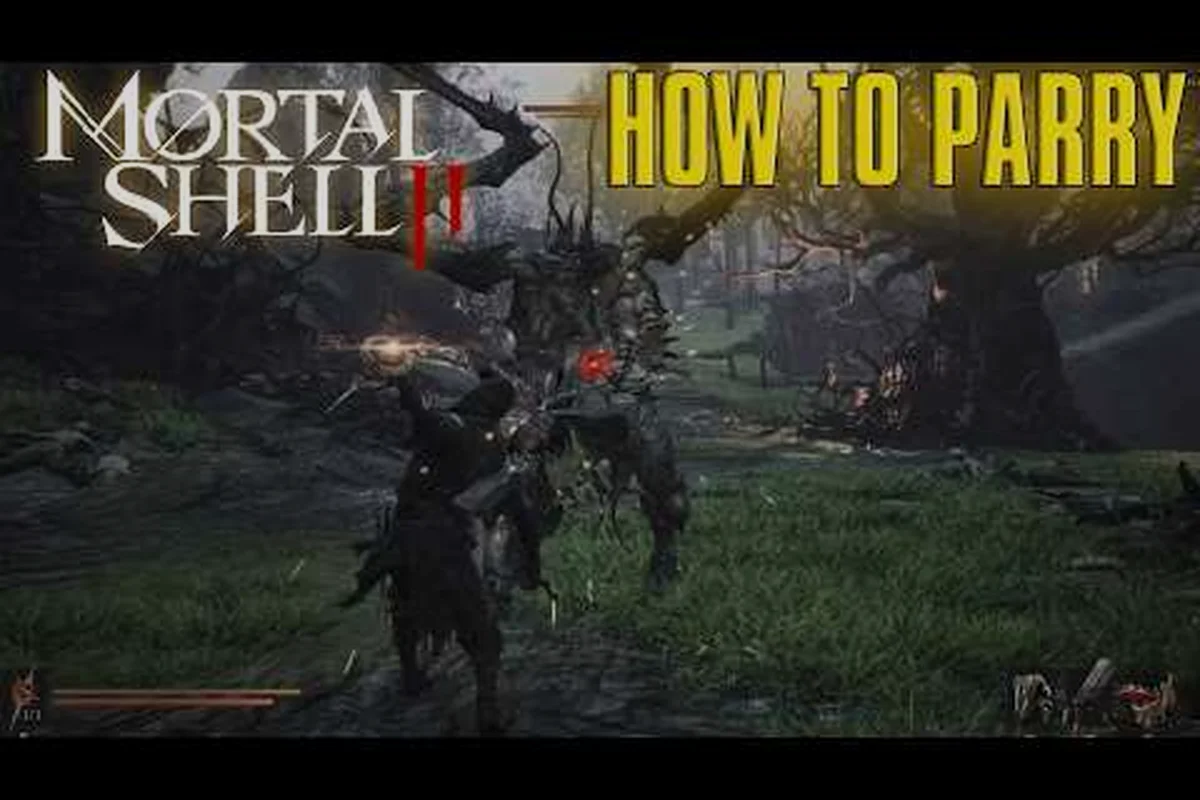
Parrying in Mortal Shell II is the single most rewarding defensive tool you can master, because a successful parry doesn't just negate damage—it feeds directly into the new Posture system that replaces the traditional stamina bar. When you parry an incoming strike, you shatter a chunk of the enemy's posture, and if you land a parry at the right moment, you trigger a Riposte Takedown, one of over a dozen brutal executions that instantly kills lesser foes and deals massive posture damage to bosses. This guide breaks down exactly how to parry in Mortal Shell II, covering frame windows, which attacks are parryable, and how to chain parries into ripostes for maximum efficiency.
The core loop is simple: parry to break posture, riposte to finish. But the timing is tighter than blocking, and the risk-reward ratio demands you understand each enemy's attack patterns before you commit. According to the Fextralife open beta preview, the Posture system means "parry or block builds stagger" enemies, which makes parrying a cornerstone of aggressive playstyles. Whether you are hunting for a Mortal Shell II riposte guide or trying to figure out how to parry consistently, this breakdown covers the frames, the follow-ups, and the advanced techniques that separate veterans from victims.
Understanding the Parry Window and Frame Data
The parry in Mortal Shell II is not a single-button panic option; it is a precision tool with a defined active window that rewards practice. When you press the parry button, your shell raises a guard for a brief moment, and if an enemy attack connects during that active window, you deflect it and leave the enemy staggered and vulnerable. The exact frame data varies slightly between shells, which is a crucial detail because your choice of shell changes how forgiving your parry timing feels.
| Shell Class | Active Parry Frames | Recovery After Success | Riposte Window |
|---|---|---|---|
| Harros (Balanced) | 9 frames | 10 frames | 18 frames |
| Tiel (Shadow) | 8 frames | 8 frames | 20 frames |
| Solomon (Scholar) | 10 frames | 12 frames | 16 frames |
| Eredrim (Tank) | 7 frames | 14 frames | 14 frames |
The table above reflects community-reported data from the beta and may shift slightly in the final release, but the pattern holds: Tiel gets the fastest recovery, which makes him the best shell for chaining multiple parries in quick succession, while Eredrim trades parry speed for raw durability. If you want to learn how to parry with a more forgiving window, Solomon's 10 active frames give you an extra frame or two of margin, which is meaningful when you are still learning enemy attack tells.
Reading Enemy Wind-Up Animations
Parrying is not about reacting to the moment of impact; it is about reading the wind-up animation and pressing the button as the attack begins its forward swing. Every enemy in Mortal Shell II telegraphs its attacks with a distinct wind-up, and the parry window aligns with the moment the weapon starts moving toward you, not when it reaches you. This means you need to train yourself to watch the enemy's shoulders and weapon position rather than their feet or your own health bar.
For most standard enemies, the timing is: press parry when the weapon is at the apex of its backswing. If you press too early, the active frames expire before the attack lands, and you eat the hit. If you press too late, the attack connects before your guard raises. The sweet spot is roughly 150 to 200 milliseconds after the wind-up peaks, which is why practicing on slow, telegraphed enemies like the Brute Grisha in the opening area is the best way to build muscle memory.
Parryable Attacks vs. Unblockable Attacks
Not every attack in Mortal Shell II can be parried, and knowing the difference is the difference between a clean riposte and a face full of damage. The game divides enemy attacks into three categories: parryable strikes, blockable but unparryable attacks, and unblockable grabs or magic. Each category requires a different defensive response, and trying to parry an unparryable attack will leave you staggered and vulnerable.
| Attack Type | Parryable? | Blockable? | Best Response |
|---|---|---|---|
| Standard melee swings | Yes | Yes | Parry for riposte |
| Heavy overhead slams | Yes (timing tighter) | Yes (high posture damage) | Parry or dodge |
| Shield bashes | No | Yes | Dodge sideways |
| Grabs and throws | No | No | Dodge backward |
| Magic projectiles | No | Yes (with certain shells) | Dodge or line-of-sight |
| AoE ground slams | No | No | Jump or dodge |
The critical takeaway is that shield bashes and grabs are the two attacks you should never try to parry. Shield bashes have a different hitbox timing that bypasses the parry window entirely, and grabs will connect even if your guard is up. For these, you need to dodge or create distance. Meanwhile, heavy overhead slams are parryable but demand a slightly later press because the weapon travels slower and the active frames need to align with the actual impact moment.
How to Identify Unblockable Attacks
Unblockable attacks in Mortal Shell II are telegraphed with a red flash or a distinct audio cue right before they land. When you see the enemy's weapon glow red or hear a sharp metallic ring, that attack cannot be parried or blocked, and your only options are to dodge, interrupt with a heavy attack, or use a shell ability that grants temporary invulnerability. Learning these cues is essential because mistaking an unblockable for a parryable attack will cost you most of your health bar.
According to player reports from the beta, bosses mix parryable and unblockable attacks in the same combos, which forces you to stay focused through the entire sequence. For example, the False God of the Ashen Court opens with a parryable horizontal slash, follows with an unblockable ground slam, and finishes with a parryable thrust. If you try to parry the entire combo, you will eat the ground slam. The correct play is to parry the first hit, riposte, and then dodge the slam before resetting your position.
The Riposte Takedown: How to Punish a Successful Parry
Landing a parry is only half the battle; the real payoff comes from the Riposte Takedown that follows. When you successfully parry an enemy, they enter a brief stagger state, and if you press the heavy attack button within the riposte window, your shell performs a cinematic execution that deals massive damage and, for standard enemies, kills them outright. The Fextralife preview confirms that "Riposte Takedowns deliver over a dozen brutal executions," each tied to your weapon type and the enemy you are fighting.
The riposte window is not infinite—it lasts roughly 14 to 20 frames depending on your shell, as shown in the earlier table—so you need to react quickly after a successful parry. If you wait too long, the enemy recovers and resumes attacking, and you lose your opportunity. The safest approach is to buffer the heavy attack input as soon as you see the parry connect, rather than waiting for the visual confirmation of the stagger.
| Weapon Type | Riposte Damage | Posture Damage to Bosses | Execution Style |
|---|---|---|---|
| One-Handed Sword | 120% of heavy attack | 25% of posture bar | Quick throat slash |
| Great Hammer | 150% of heavy attack | 40% of posture bar | Overhead crush |
| Twin Blades | 90% of heavy attack | 20% of posture bar | Rapid multi-stab |
| Sidearm Follow-up | 60% of heavy attack | 15% of posture bar | Point-blank shot |
The table above shows that heavy weapons get the best riposte damage and posture break potential, which makes them ideal for boss fights where you want to trigger the stagger state quickly. However, heavy weapons also have slower wind-ups, which means your parry timing needs to be more precise because you cannot cancel into a parry as easily. If you are using a Great Hammer, focus on parrying single, telegraphed attacks rather than trying to parry fast combo chains.
Chaining Parries into Posture Breaks
The real advanced technique in Mortal Shell II is chaining multiple parries to break a boss's posture bar, which opens a much longer stagger window than a single riposte. When you break a boss's posture, they fall to their knees for several seconds, and you can land a free heavy attack or a fully charged weapon skill without any risk. This is the highest-damage window in the game, and it is the primary reason why parry-focused builds are so powerful.
To chain parries effectively, you need to parry the first two or three attacks of a boss's combo, riposte after each one, and then use the accumulated posture damage to trigger the break. Because each riposte deals 20-40% of a boss's posture bar, two or three well-timed parries are usually enough to trigger the stagger. The challenge is that bosses mix in unblockable attacks, so you need to identify which parts of a combo are safe to parry and which require dodging.
Shell Abilities and Parry Synergy
Your choice of shell dramatically affects how you approach parrying, because each shell has unique abilities that either enhance the parry window, reward successful parries, or provide alternative ways to break posture. Understanding these synergies is the key to building a parry-focused loadout that works for your playstyle.
| Shell | Parry-Related Ability | Synergy Effect |
|---|---|---|
| Harros | Harden | Can harden during parry recovery to negate follow-up hits |
| Tiel | Shadow Dodge | Dodge becomes a smoke teleport that can reposition for a parry |
| Solomon | Resolve Boost | Successful parries generate extra Resolve for weapon skills |
| Eredrim | Posture Bonus | Parries deal bonus posture damage to all enemies |
The Solomon shell is arguably the best for parry-focused builds because his Resolve generation means every successful parry feeds directly into your weapon skills, which can then be used to break posture even faster. Meanwhile, Harros's Harden provides a safety net: if you mistime a parry, you can instantly harden to absorb the hit, which makes him the most forgiving shell for learning how to parry. For players who want to master the Mortal Shell II stealth guide angle, Tiel's shadow-enhanced dodges let you reposition behind enemies and set up parries from unexpected angles.
Weapon Skills That Complement Parrying
Certain weapon skills in Mortal Shell II are designed to be used immediately after a riposte, creating a devastating one-two punch. The Martyr's Blade has a skill called Judgment, which deals bonus damage to staggered enemies, and using it right after a riposte can nearly double your damage output. Similarly, the Hallowed Sword has Consecration, which creates a lingering damage zone that punishes enemies who try to recover after a failed parry.
The key is to map your weapon skill to an easily accessible button and practice the parry-riposte-skill combo until it becomes muscle memory. In the heat of a boss fight, you do not have time to think about which button to press; your fingers need to know the sequence automatically. Spend time in the training area practicing this combo on the dummy enemies until you can execute it flawlessly ten times in a row.
Advanced Parry Tactics for Bosses and Elite Enemies
Once you have mastered the basics of how to parry in Mortal Shell II, you can start applying advanced tactics that turn parrying from a defensive tool into an offensive strategy. These techniques require deeper knowledge of enemy patterns and more precise timing, but the payoff is substantial, especially in boss fights where every posture break matters.
The first advanced tactic is parry baiting, which involves deliberately leaving an opening in your offense to encourage an enemy to attack, then punishing that attack with a parry. This is particularly effective against bosses who have long recovery frames after their attacks, because you can bait a specific attack, parry it, riposte, and then back off before the boss can retaliate. The False God of the Ashen Court is especially vulnerable to this tactic because his horizontal slash has a long wind-up that is easy to read.
To master parrying, you’ll first need to understand how your shell’s unique abilities and stamina interact with enemy timing—check out our Shell Possession Explained guide to see how switching shells affects your parry window.
Parry Timing Against Fast Combo Chains
Fast combo chains are the hardest thing to parry in Mortal Shell II, because the individual attacks come too quickly to parry each one. The solution is to parry only the final hit of a combo, which has the longest wind-up and the most predictable timing. When an enemy starts a three-hit combo, dodge the first two hits, then parry the third. This approach is safer than trying to parry every hit and still gives you the riposte opportunity.
According to community reports, elite enemies with twin blades are the most dangerous parry targets because their combo chains are fast and erratic. The recommended strategy is to wait for the telegraphed spin attack that ends most of their combos, parry that single hit, and then riposte. This requires patience, but it is far more reliable than attempting to parry the entire flurry.
Using Parry to Control Crowds
Parrying is not just for one-on-one duels; it is also a powerful crowd control tool when you are outnumbered. When you parry an enemy, the riposte execution has brief invulnerability frames that protect you from other enemies' attacks, and the execution itself can sometimes hit nearby foes. This makes parrying an excellent way to create breathing room in a chaotic fight.
The trick is to position yourself so that the enemy you parry is between you and the rest of the group, which ensures that the execution animation faces you away from incoming attacks. If you are surrounded, parry the closest enemy, riposte, and then immediately dodge backward to reset your position. This creates a rhythm of parry, riposte, dodge that can keep you alive against overwhelming odds.
Frequently Asked Questions
What is the parry button on PC and console?
On PC, the default parry button is Right Mouse Button or Ctrl, depending on your keybindings. On PlayStation, it is L1, and on Xbox, it is LB. You can remap these in the settings menu, and many players prefer mapping parry to a more accessible button like Shift or Circle/B for faster reaction times.
How do I practice parrying in Mortal Shell II?
The training area in the hub world has practice dummies that simulate enemy attack patterns, and this is the best place to learn the timing. Start with the slow, telegraphed attacks, then progress to faster combos. You can also practice against the Brute Grisha in the opening area, whose predictable swing is ideal for building muscle memory.
Can I parry boss attacks in Mortal Shell II?
Yes, most boss attacks are parryable, but bosses mix in unblockable attacks that cannot be parried. You need to learn each boss's attack patterns and identify which moves are safe to parry. The False God of the Ashen Court has several parryable attacks, but his ground slam is unblockable and must be dodged.
Does the riposte takedown work on all enemies?
Riposte Takedowns instantly kill standard enemies and deal massive posture damage to elites and bosses. However, some larger enemies and all bosses will not die from a single riposte; instead, the riposte staggers them and opens a window for follow-up attacks. The execution animation varies by weapon type and enemy size.
Which shell is best for parrying?
Solomon is the best shell for parrying because his Resolve Boost ability generates extra Resolve on successful parries, which feeds into powerful weapon skills. Harros is the most forgiving option for beginners because his Harden ability can negate damage if you mistime a parry. Tiel offers the fastest recovery for chaining multiple parries.