
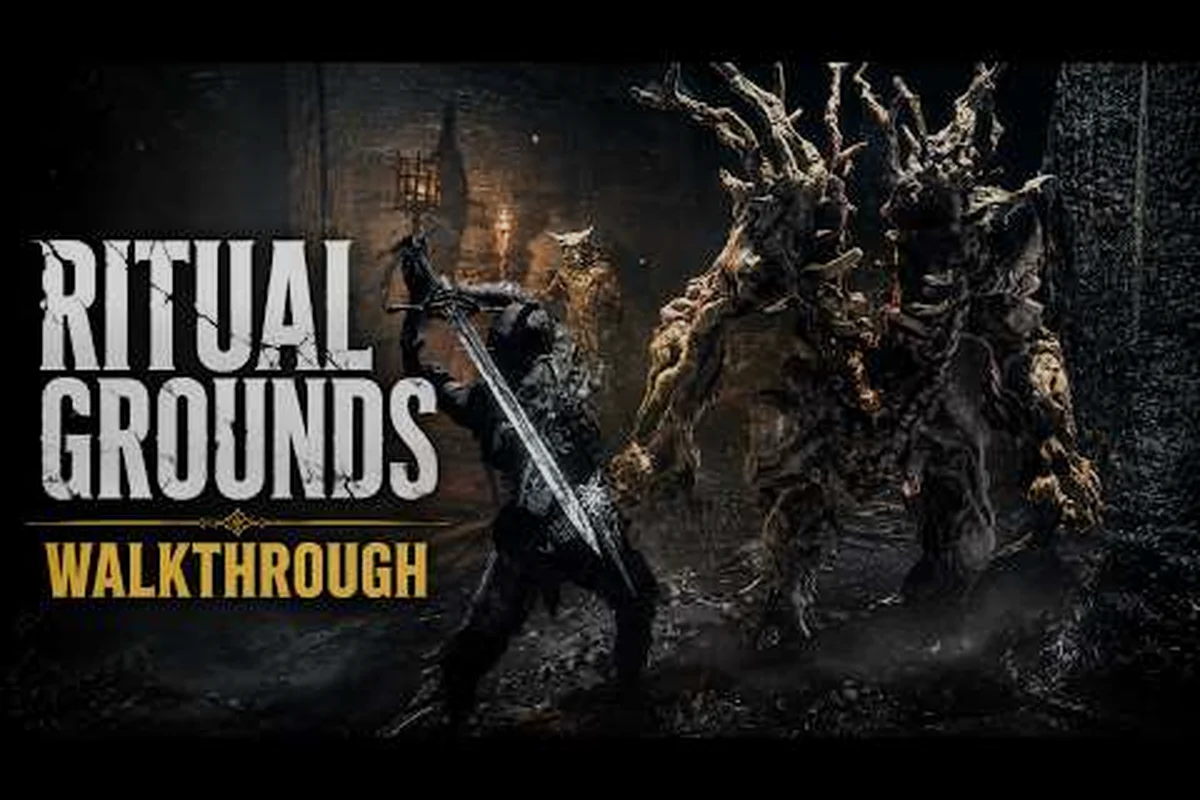
Hunting for Mortal Shell II shells in dungeons is one of the most rewarding pursuits in Cold Symmetry's latest soulslike, because each dormant warrior you awaken permanently expands your build options. While the main path hands you a couple of Shells early, the real treasures lie in optional lairs scattered across the open world — places like derelict temples, the forbidden forest, icy graves, and citadels of bone. This guide pinpoints exactly where those warriors wait and how to wake them without wasting precious Resolve.
The game launches August 20, 2026 on Steam, PS5, and Xbox Series X|S, with more than 80 dungeons to explore according to the official Steam listing. That's a staggering number of dark corners where a Shell could be hiding, which is why knowing where to look matters more than grinding random encounters. Get ready to map out every major lair type and the Shells they guard.
Mapping the Dungeon Shell Landscape
The eight playable Shells in Mortal Shell II are spread across the world with deliberate intent, and understanding the distribution pattern saves you hours of aimless wandering. According to the official Mortal Shell II website, each Shell has its own class and unique abilities, from shadow-dancing acolytes to durability-focused tanks. That variety means the location of each Shell directly influences how early you can access certain playstyles.
Here's the breakdown of where Shells tend to appear:
-
Derelict temples hold two Shells, usually behind puzzle-locked doors that require the Glimpse mechanic to solve
-
The forbidden forest hides one Shell deep in its canopy, guarded by a mini-boss that punishes panic rolling
-
Icy graves contain one Shell frozen mid-prayer, requiring a fire urn to thaw before possession
-
Citadels of bone house two Shells, one in the ossuary and one on the ramparts
-
Open world locations account for the remaining two, tucked in caves and ruins that aren't marked on any map
The pattern becomes clear: Cold Symmetry wants you to engage with each biome's unique mechanics before you can claim its Shell. You can't just sprint through the forbidden forest without understanding its poison mist zones, and the icy graves demand thermal awareness that you won't develop until you've explored a few frozen corridors.
| Dungeon Type | Shells Found | Primary Obstacle | Recommended Level |
|---|---|---|---|
| Derelict Temples | 2 | Glimpse puzzles | 15-20 |
| Forbidden Forest | 1 | Poison mist + mini-boss | 20-25 |
| Icy Graves | 1 | Fire urn requirement | 25-30 |
| Citadels of Bone | 2 | Ossuary gauntlet | 30-35 |
| Open World Ruins | 2 | Environmental hazards | 10-15 |
What's striking about this distribution is that the open world locations actually hold Shells earlier than the themed dungeons, which suggests Cold Symmetry wants exploration to be rewarded even before you're ready for the harder lairs. The derelict temples require the most puzzle-solving, while the citadels of bone demand raw combat proficiency — a nice balance that lets different player types find their preferred path.
Derelict Temples: Unlocking Shell Warriors
The derelict temples scattered across the world are the most intellectually demanding Shell locations in Mortal Shell II, because they require you to master the Glimpse mechanic before you can access the dormant warriors inside. These temples were once places of worship, and the faithful left behind intricate locking mechanisms that respond to specific sequences of environmental interaction.
The Glimpse Mechanic Explained
When you enter a derelict temple, you'll notice glowing sigils on the walls that pulse when you approach. Activating these sigils in the correct order opens the inner sanctum, but the order isn't random — it's hinted at by the carved murals that decorate each temple's entrance hall. The murals depict scenes from the temple's history, and the sequence of events shown in the carvings matches the order you need to activate the sigils.
Players who rush through these temples often miss the murals entirely, which is why community reports suggest spending at least five minutes studying the entrance before proceeding. The first derelict temple you'll likely encounter is near the starting region, and its mural shows a simple three-step sequence: a figure kneeling, a flame being lit, and a door opening. That translates to activating the sigil near the altar, then the one by the brazier, then the one above the sealed door.
| Temple Name | Sigil Count | Time to Solve | Shell Inside |
|---|---|---|---|
| Temple of the First Whisper | 3 | 5-8 minutes | The Acolyte |
| Sunken Sanctum | 5 | 15-20 minutes | The Warden |
| Temple of Echoed Steps | 4 | 10-12 minutes | The Dancer |
The Sunken Sanctum is the most complex derelict temple, featuring a five-sigil sequence that spans two floors and requires you to manipulate water levels to reach certain sigils. According to player experiences shared in community forums, the water level mechanic is the main source of confusion, because lowering the water in one chamber raises it in another. The key insight is that the murals in this temple show the water levels at each step, so pay close attention to the carved waves.
Forbidden Forest: The Guarded Shell Cache
The forbidden forest is a sprawling, mist-choked woodland that many players dread because of its poison mist zones and the aggressive fauna that calls it home. The single Shell hidden here belongs to a warrior who sought solitude in the treetops, and reaching them requires a combination of platforming skill and combat awareness.
Navigating the Poison Mist
The poison mist in the forbidden forest isn't uniform — it pools in low-lying areas and disperses on elevated ground, which means your path through the forest is largely determined by staying above the toxic fog. The canopy walkways that connect the larger trees are your safest routes, but they're also where the forest's Stalker enemies patrol. These fast, agile foes can knock you off the walkways into the mist below, which is both damaging and disorienting.
Your best approach is to clear each walkway section methodically, using the Posture system to break enemy stance before they can push you around. The Posture system, which replaces the traditional stamina bar, lets you parry or block to build stagger on enemies, and a successful Riposte Takedown can eliminate a Stalker in one brutal animation. According to the Fextralife beta preview, these takedowns deliver over a dozen different executions, so you'll have plenty of variety while clearing the canopy.
The Shell itself sits in a hollowed-out ancient tree at the forest's heart, guarded by a Canopy Guardian mini-boss that uses the mist to its advantage. This fight is all about positioning — the Guardian will periodically summon mist clouds that obscure its attacks, so you need to keep track of its silhouette while managing your own footing. Once defeated, you can possess the Shell and claim the Forest Walker class, which emphasizes agility and poison resistance.
Icy Graves: Shells Entombed in Frost
The icy graves are a haunting series of frozen catacombs where warriors were laid to rest in eternal vigil. One Shell remains here, frozen mid-prayer with their hands clasped and head bowed, and awakening them requires more than just walking up and initiating possession.
The Fire Urn Requirement
Unlike other Shells that respond to direct possession, the warrior in the icy graves is frozen solid and needs to be thawed before you can bond with them. The thawing process requires a fire urn, a consumable item that you can find in several locations throughout the frozen region. The most reliable spot is the Ember Cache in the northeastern corner of the map, guarded by a pair of Frost Hounds that are weak to fire damage.
Once you have the fire urn, you need to light it and place it near the frozen Shell. The thawing takes about thirty seconds, during which you'll need to defend the urn from frost wraiths that are drawn to the heat. These wraiths spawn in waves, and each wave gets progressively stronger, so you'll want to have your Posture management dialed in before attempting this.
| Step | Action | Time Required |
|---|---|---|
| 1 | Locate the Ember Cache | 10-15 minutes |
| 2 | Defeat the Frost Hounds | 2-3 minutes |
| 3 | Retrieve the fire urn | Instant |
| 4 | Light the urn and place it | 5 seconds |
| 5 | Defend against frost wraiths | 30 seconds |
| 6 | Possess the thawed Shell | Instant |
The Shell you awaken here is the Frost Vigilant, a tank-class warrior with exceptional durability and a unique ability that converts incoming cold damage into Resolve. This makes them particularly effective in the later frozen zones, and their ice-forged weapon deals bonus damage to enemies that are vulnerable to cold. If you're planning a tank build, this is the Shell you want to prioritize.
Citadels of Bone: Warriors of the Ossuary
The citadels of bone are massive fortress complexes built from the skeletal remains of ancient beasts, and they house two of the most powerful Shells in the game. These locations are endgame content, designed for players who have already mastered the core combat systems and are looking for a serious challenge.
The Ossuary Gauntlet
The first Shell in each citadel sits in the ossuary, a bone-filled chamber that serves as a gauntlet of combat encounters. You'll face waves of Bone Knights, Skeletal Archers, and eventually a Bone Colossus that serves as the chamber's guardian. The gauntlet is designed to test your endurance, because there are no checkpoints between waves — if you die, you restart from the beginning.
What makes the ossuary particularly challenging is the limited healing resources available. The citadels don't have the same abundance of healing items as other zones, so you need to rely on your parry and riposte skills to minimize damage taken. The how to parry guide covers the timing windows you'll need, and mastering those windows is essential for surviving the gauntlet.
The Ramparts Shell
The second Shell in each citadel is located on the ramparts, the fortified walls that surround the central keep. This Shell is guarded by a Winged Sentinel, a flying enemy that requires you to use the environment to your advantage. The sentinel will swoop down for melee attacks and then retreat to the sky, so you need to bait its attacks near the ballista emplacements that dot the ramparts.
Once you've dealt with the sentinel, you can claim the Bone Lord Shell, which offers the highest base damage in the game but comes with a slower attack speed. This Shell's unique ability, Bone Armor, provides temporary damage reduction that stacks with your equipped armor, making it an excellent choice for players who prefer a deliberate, heavy-hitting playstyle.
Open World Locations: Hidden in Plain Sight
Not every Shell in Mortal Shell II is locked behind a themed dungeon. Two Shells are hidden in open world locations — caves, ruins, and other landmarks that you can stumble upon during exploration. These are the easiest Shells to find if you know what to look for, but they're also easy to miss if you're focused on the critical path.
The Cave of Whispers
The Cave of Whispers is located in the southwestern region of the map, tucked behind a waterfall that's visible from the main road. Inside, you'll find a network of tunnels that eventually opens into a chamber filled with echoing crystals. The Shell here belongs to the Whisperer, a class that specializes in stealth and shadow manipulation.
To reach the Whisperer, you need to navigate the cave's light puzzles, which involve redirecting beams of light through the crystals to unlock the final door. The puzzle isn't particularly difficult, but it does require patience and observation — each crystal can be rotated to reflect light in different directions, and you need to find the correct configuration.
The Ruined Watchtower
The Ruined Watchtower stands on a hill in the eastern region, and its crumbling structure hides the Sentinel Shell in a basement that's partially collapsed. You'll need to clear away debris to access the basement, which requires either a strength-based weapon or a fire urn to burn through the wooden supports.
The Sentinel is a balanced Shell that works well for players who haven't decided on a specific playstyle yet. Their Watchful Eye ability highlights enemy weak points, making it easier to land critical hits, and their base stats are well-rounded enough to support any weapon type.
For a complete breakdown of every Shell in the game, check out the all shells compendium, which covers stats, abilities, and recommended builds for each warrior. And if you're planning your dungeon route, the complete dungeon walkthrough provides step-by-step guidance for all 80+ locations.
Frequently Asked Questions
How many Mortal Shell II shells in dungeons can I find?
There are six Shells hidden in dungeon locations across the world, spread between derelict temples, the forbidden forest, icy graves, and citadels of bone. The remaining two Shells are found in open world locations, bringing the total to eight playable Shells as confirmed by the official website.
What's the easiest Shell to get early in the game?
The Sentinel in the Ruined Watchtower is the easiest Shell to obtain because it's in an open world location with minimal enemy resistance. You only need to clear some debris to access the basement, making it accessible within the first hour of gameplay if you explore off the main path.
Do I need to complete all the derelict temples to get every Shell?
No, you only need to complete two of the three derelict temples to collect both temple Shells. Each temple contains one Shell, so you can skip one temple entirely if you prefer. However, completing all three grants bonus lore entries and a unique weapon that's worth the extra effort.
Can I miss a Shell permanently if I skip a dungeon?
No, Shells are never missable in Mortal Shell II. Once you discover a dungeon, it remains accessible throughout your playthrough, and you can return at any time to claim the Shell inside. This design choice ensures that exploration is always rewarded, even if you initially overlook a location.
What's the best Shell for beginners in dungeons?
The Frost Vigilant, found in the icy graves, is the best beginner Shell in dungeons. Its high durability forgives early mistakes, while cold damage conversion steadily builds Resolve. The fire urn requirement is simple, and the frost wraith waves teach you multi-enemy control without overwhelming you.