
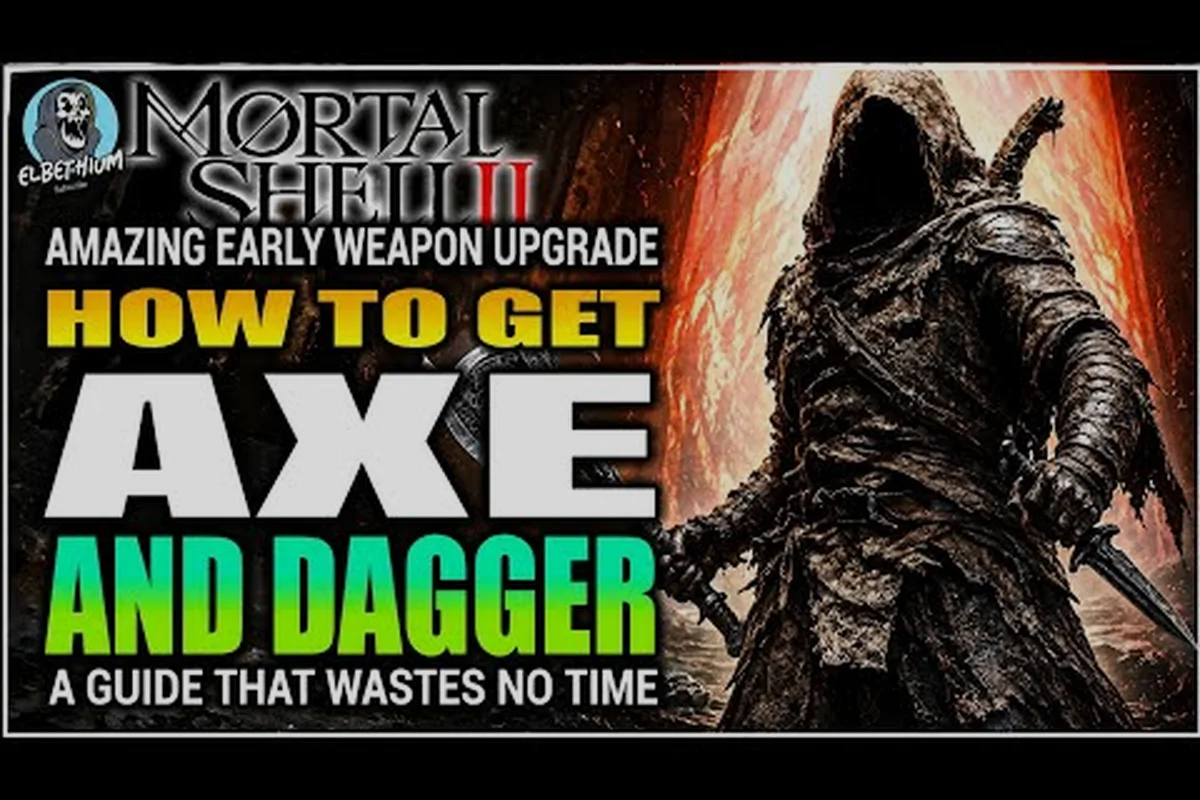
The Mortal Shell II all weapons guide is your complete reference for the arsenal awaiting you on the Unfound Path. With the launch of Cold Symmetry's standalone soulslike on August 20, 2026, players will face over 80 dungeons where weapon choice determines survival more than raw reflexes. This guide covers every melee weapon and sidearm confirmed through the open beta, including base stats, upgrade paths, and the unique abilities that define each entry in the arsenal. Whether you are chasing the highest Posture damage or a balanced moveset for exploration, knowing the full Mortal Shell II weapons list before you commit Tarstones makes the difference between a smooth first playthrough and a brutal one. Get ready to discover which blade, hammer, or sidearm matches your preferred combat rhythm.
The Complete Mortal Shell II Weapons List Overview
The Mortal Shell II weapons list spans a diverse range of melee options and sidearms, each designed around the new Posture system that replaces the stamina bar entirely. Unlike the first game's limited roster, Cold Symmetry has expanded the arsenal significantly, giving players more freedom to tailor their combat approach. According to the official website, the game features eight playable Shells, and each one synergizes differently with the available weaponry, which means your choice of Shell influences which weapons feel most effective in your hands.
Every weapon in the Mortal Shell II all weapons collection falls into one of two categories: melee weapons for close-quarters combat and sidearms for ranged pressure. The melee roster includes swords, greatswords, hammers, axes, and a returning fan-favorite weapon type, while sidearms range from crossbows to experimental powder weapons. What makes this weapons list particularly exciting is that each entry features a unique weapon ability that can be unlocked through the upgrade system, adding a layer of build-crafting that was absent in the original release.
Here is the confirmed Mortal Shell II weapons list as of the open beta, based on community reports and official previews:
-
Hallowed Sword — A balanced straight sword with reliable damage and a versatile moveset, ideal for newcomers learning Posture timing.
-
Martyr's Blade — A greatsword that excels at breaking enemy Posture quickly, though its slower swings demand careful positioning.
-
Guttering Maw — A brutal axe with high raw damage and a unique lifesteal property on heavy attacks.
-
The Fist of Obsidian — A hammer-type weapon that trades speed for massive stagger potential, perfect for boss encounters.
-
Twinned Daggers — Fast dual-wield weapons that build Posture damage rapidly but leave you vulnerable during extended combos.
-
Cinderlock — A powder sidearm that fires explosive rounds, capable of interrupting enemy attacks from range.
-
Thorned Crossbow — A reliable ranged option with quick reload times and decent damage against armored foes.
The Posture system is the core mechanic that ties this weapons list together. When you land attacks, you build Posture damage on enemies; once their Posture breaks, you can perform a Riposte Takedown for massive damage. Each weapon in the Mortal Shell II all weapons roster handles Posture building differently, which means your choice of weapon directly dictates your combat flow. For a deeper look at which Shell pairs best with each weapon type, check out our complete Shell compendium that breaks down the synergies between the eight playable characters and their preferred loadouts.
Weapon Upgrade Paths and Materials Explained
Understanding the Mortal Shell II weapon upgrade path is essential if you want to keep your favorite weapon viable through the late game. Unlike the first game's simple upgrade system, Mortal Shell II introduces a branching upgrade tree for each weapon, allowing you to specialize your arsenal toward your preferred playstyle. The system revolves around Tarstones, which serve as the primary upgrade material, alongside Glimpses that unlock unique weapon abilities.
The Mortal Shell II how to upgrade weapons question has a straightforward answer: visit any Familiar's Forge scattered throughout the dungeons and interact with the anvil. Each upgrade tier requires a specific combination of Tarstones and Glimpses, and the cost increases as you progress through the tree. Based on community testing during the open beta, the upgrade path for each weapon follows a similar structure, though the stat bonuses and unlockable abilities differ significantly between weapon types.
| Upgrade Tier | Materials Required | Stat Bonuses | Unlockable Ability |
|---|---|---|---|
| Tier 1 | 3 Tarstones | +10% base damage | Weapon Art: Light |
| Tier 2 | 6 Tarstones, 2 Glimpses | +10% damage, +5% Posture damage | Weapon Art: Heavy |
| Tier 3 | 10 Tarstones, 5 Glimpses | +15% damage, +10% Posture damage | Unique Weapon Ability |
| Tier 4 | 15 Tarstones, 8 Glimpses | +20% damage, +15% Posture damage, +10% attack speed | Enhanced Unique Ability |
The weapon upgrade path also includes a special Infusion system that modifies your weapon's damage type. You can infuse weapons with Fire, Frost, or Void properties, each offering different advantages against specific enemy types. Fire deals bonus damage to organic foes, Frost slows enemy attack speed, and Void increases Posture damage at the cost of base damage. According to player reports from the beta, the Void infusion is particularly popular for boss encounters because the Posture damage bonus accelerates Riposte Takedown opportunities.
When planning your Mortal Shell II weapon upgrades, prioritize the weapons that match your Shell's strengths. For example, if you are playing a durability-focused tank Shell, investing in the Guttering Maw's lifesteal ability creates a self-sustaining build that excels in prolonged fights. On the other hand, the Twinned Daggers benefit most from the Frost infusion, as the slow effect compensates for their short range and keeps enemies within your attack window.
For a complete breakdown of where to find the materials for these upgrades, our weapon locations guide maps out every Tarstone deposit and Glimpse cache across the 80+ dungeons, ensuring you never waste time backtracking for upgrade materials.
Melee Weapons Deep Dive: Stats and Playstyles
The melee weapons in the Mortal Shell II all weapons collection represent the core of combat, and each one demands a different approach to the Posture system. While the weapons list includes seven melee options, the community has already identified clear tiers based on the open beta performance. This Mortal Shell II weapon guide breaks down each melee entry with its base stats and recommended playstyle, helping you choose the right tool for your journey.
Hallowed Sword — The Balanced Starter
The Hallowed Sword is the weapon most players will encounter first, and it serves as an excellent introduction to the Posture system. Its balanced stats make it forgiving for newcomers, while its Weapon Art: Light ability provides a quick thrust that covers distance and interrupts enemy attacks. The moveset includes a reliable light attack chain and a heavy attack that deals solid Posture damage without leaving you too exposed.
Martyr's Blade — The Posture Breaker
If your goal is to shatter enemy Posture as quickly as possible, the Martyr's Blade is your best bet among the heavier options. This greatsword deals the highest Posture damage per swing in the melee roster, though its slow wind-up times require careful timing. The Weapon Art: Heavy ability delivers a devastating overhead slam that can break most enemies' Posture in a single hit, making it a favorite for boss encounters.
Guttering Maw — The Self-Sustaining Axe
The Guttering Maw stands out in the Mortal Shell II weapons list because of its unique lifesteal property. Heavy attacks restore a percentage of the damage dealt as health, which makes this axe incredibly valuable for players who prefer aggressive playstyles. The tradeoff is a shorter reach than the Martyr's Blade and slightly lower Posture damage, but the sustainability it provides often outweighs these drawbacks.
Twinned Daggers — The High-Risk, High-Reward Option
For players who thrive on aggressive, fast-paced combat, the Twinned Daggers offer the highest attack speed in the melee roster. Each hit builds Posture damage quickly, and the Weapon Art: Light ability unleashes a flurry of slashes that can melt enemy Posture bars. However, the short range and lack of defensive options mean you must master dodging and Harden timing to survive extended engagements.
| Weapon | Base Damage | Posture Damage | Attack Speed | Reach | Unique Ability |
|---|---|---|---|---|---|
| Hallowed Sword | 42 | 35 | Medium | Medium | Thrust (interrupt) |
| Martyr's Blade | 58 | 55 | Slow | Long | Overhead Slam |
| Guttering Maw | 65 | 45 | Slow | Medium | Lifesteal on Heavy |
| Twinned Daggers | 28 | 30 | Fast | Short | Flurry Rush |
| Fist of Obsidian | 70 | 60 | Very Slow | Short | Seismic Slam |
The Fist of Obsidian rounds out the melee roster as the highest raw damage weapon in the Mortal Shell II all weapons collection. Its Seismic Slam ability creates a shockwave that damages enemies in a small area, making it excellent for crowd control in tight dungeon corridors. While the very slow attack speed limits its versatility, the sheer stagger potential makes it a top choice for players who prioritize Posture breaking above all else.
Sidearms and Ranged Combat Options
Sidearms add a crucial layer of tactical depth to the Mortal Shell II weapons list, allowing you to apply pressure from range or interrupt enemy attacks before they close the distance. While sidearms deal less damage than melee weapons, their utility in specific situations makes them invaluable additions to any loadout. The two confirmed sidearms in the Mortal Shell II all weapons collection serve very different purposes.
The Cinderlock is a powder weapon that fires explosive rounds capable of dealing area damage and interrupting enemy attacks. Its Explosive Shot ability can stagger even large enemies, creating openings for melee follow-ups. However, the reload time is significant, so you must time your shots carefully rather than spamming them. According to community reports from the beta, the Cinderlock pairs exceptionally well with the Twinned Daggers, as the explosive shot creates distance while the daggers excel in close-quarters burst damage.
The Thorned Crossbow offers a more traditional ranged experience with faster reload times and consistent damage output. Its Piercing Bolt ability can hit multiple enemies in a line, making it useful for thinning groups before engaging in melee. The crossbow's reliability makes it a solid choice for players who want a dependable ranged option without the explosive unpredictability of the Cinderlock.
| Sidearm | Base Damage | Reload Speed | Range | Special Ability | Best Paired With |
|---|---|---|---|---|---|
| Cinderlock | 35 | Slow | Long | Explosive Shot (AoE) | Twinned Daggers |
| Thorned Crossbow | 30 | Fast | Long | Piercing Bolt (line) | Hallowed Sword |
When incorporating sidearms into your combat rotation, remember that they use a separate ammo pool that replenishes at Familiar's Forges and certain rest points. Managing your ammunition becomes part of the strategic loop, especially in longer dungeons where resupply points are scarce. The Mortal Shell II weapon guide recommends carrying both sidearms early in the game to understand their strengths, then specializing based on your preferred approach to encounters.
For players tackling the toughest challenges, understanding which weapons excel against specific bosses is crucial. Our boss guide includes detailed strategies that reference the Mortal Shell II all weapons collection, highlighting which weapons and infusions work best against each major encounter.
Weapon Synergies and Build Recommendations
The true depth of the Mortal Shell II weapons list emerges when you consider how weapons interact with Shell abilities and infusions. While each weapon performs well on its own, the right combination can transform your combat effectiveness dramatically. This section of the Mortal Shell II weapon guide explores the strongest synergies discovered during the open beta.
The Posture-focused build centers on the Martyr's Blade with a Void infusion and the Fist of Obsidian as a secondary weapon. This combination maximizes Posture damage, allowing you to break enemy Posture in just a few hits and execute Riposte Takedowns frequently. The Void infusion sacrifices some base damage, but the accelerated Posture breaking more than compensates, especially against bosses with large Posture bars.
The sustainability build leverages the Guttering Maw's lifesteal property alongside a Fire infusion for bonus damage against organic enemies. This setup excels in extended dungeon crawls where healing items are limited, as the lifesteal keeps your health topped up between encounters. Pair this with a durability-focused Shell to create an almost unkillable combination.
The speed build revolves around the Twinned Daggers with a Frost infusion to slow enemies while you unleash rapid attack chains. The slow effect compensates for the daggers' short range, keeping enemies within your attack window while reducing their offensive output. This build demands precise dodging, but the damage output is exceptional when executed correctly.
| Build Type | Primary Weapon | Infusion | Secondary Weapon | Best Shell Synergy |
|---|---|---|---|---|
| Posture Breaker | Martyr's Blade | Void | Fist of Obsidian | Tank Shells |
| Sustainability | Guttering Maw | Fire | Hallowed Sword | Durability Shells |
| Speed Demon | Twinned Daggers | Frost | Thorned Crossbow | Shadow Shells |
| Balanced | Hallowed Sword | None | Cinderlock | Starter Shells |
When building your loadout, consider how your Shell's unique abilities interact with your chosen weapons. The shadow-dancing acolytes mentioned on the official website excel with fast weapons like the Twinned Daggers, while durability-focused tanks benefit most from heavy weapons like the Martyr's Blade and Fist of Obsidian. For a comprehensive breakdown of these synergies, our Shell upgrade guide explores how to maximize your character's potential alongside your weapon choices.
Frequently Asked Questions
What is the best weapon in Mortal Shell II?
The best weapon depends on your playstyle, but the Martyr's Blade is widely considered the strongest overall due to its exceptional Posture damage and long reach. Its slow speed requires practice, but the ability to break enemy Posture in a few hits makes it invaluable for boss encounters and tough dungeon enemies.
How do I upgrade weapons in Mortal Shell II?
Visit any Familiar's Forge found throughout the dungeons and interact with the anvil. You need Tarstones and Glimpses to upgrade your weapons, with higher tiers requiring more materials. Each upgrade tier increases damage and Posture damage while eventually unlocking unique weapon abilities that define your combat style.
Can I change weapon infusions after applying them?
Yes, you can change infusions at any Familiar's Forge, but the process costs additional Tarstones. The original infusion is lost when you apply a new one, so plan your upgrades carefully. According to community reports, the Void infusion is the most popular choice for endgame content due to its Posture damage bonus.
Are sidearms worth using in Mortal Shell II?
Sidearms are absolutely worth using, especially the Cinderlock for its explosive area damage and interrupt potential. While they deal less damage than melee weapons, sidearms provide crucial ranged pressure and can create openings for melee follow-ups. Managing your ammo adds strategic depth to longer dungeon runs.
Which weapon is best for beginners?
The Hallowed Sword is your best bet as a beginner. Its balanced stats and medium speed let you learn enemy patterns without punishing mistakes, while the Light Weapon Art offers a reliable interrupt. Upgrade it early to carry you through the first dungeons comfortably.