
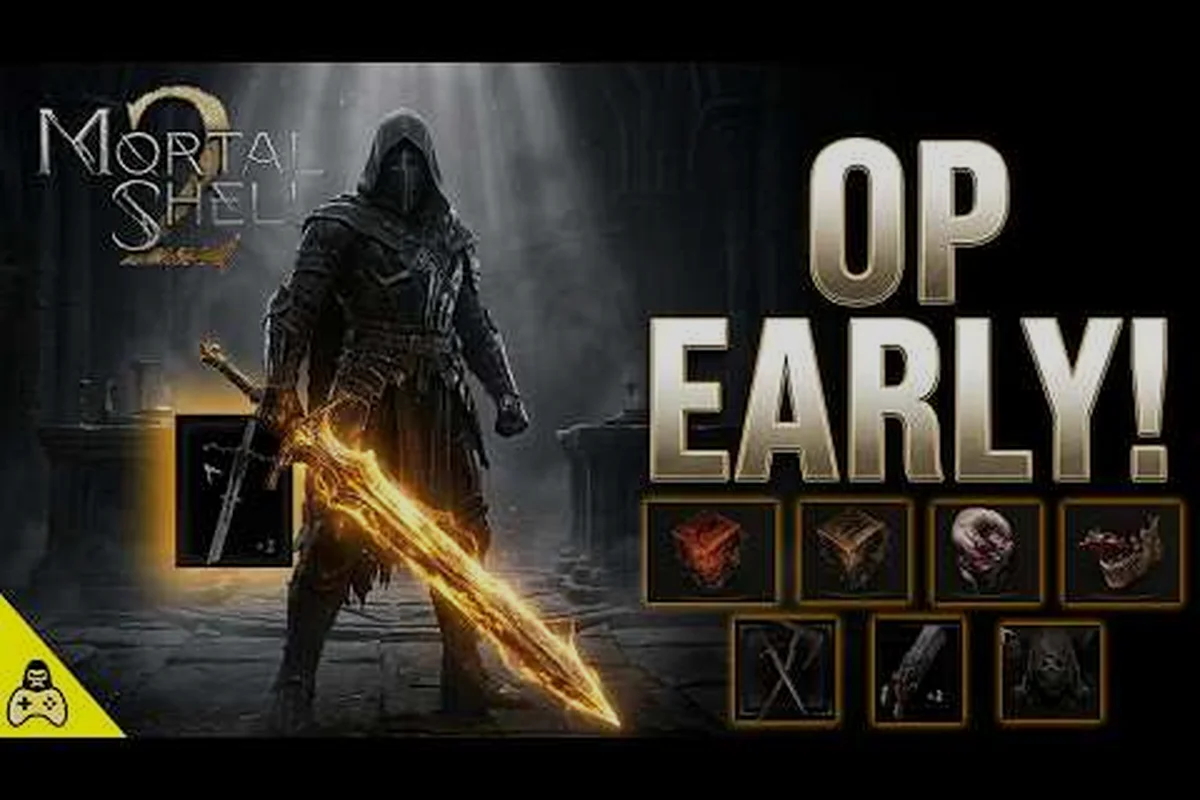
Every weapon in Mortal Shell II sits behind a specific threshold, and knowing where to look saves you hours of wandering through the Unfound Path. This Mortal Shell II weapon find guide maps out exactly which blades, sidearms, and upgrade materials matter at each stage of your run, so you never waste a Tarstone on a weapon you will replace within two dungeons. The game launches August 20, 2026 on Steam, PS5, and Xbox Series X|S, and the open beta already revealed that the Posture system rewards players who pair the right weapon with the right Shell. Get the locations, the upgrade priorities, and the combos that community testers have already verified.
According to Mortal Shell's official website, the weapon’s drop rate scales with the player’s progression through the Fallen Temple, with a guaranteed spawn occurring after defeating the Unchained brute for the first time.
Weapon Acquisition Timeline: What to Grab First
The first five hours of Mortal Shell II funnel you through a linear tutorial zone, but the moment you reach the Hollow Reach, the world opens up and weapon choices multiply fast. According to community reports from the open beta, players who rushed straight to the nearest glowing chest often locked themselves into suboptimal loadouts for the next ten hours. Instead, follow this acquisition order that balances immediate power with long-term scaling.
| Stage | Weapon Type | Best Early Pick | Why It Matters |
|---|---|---|---|
| Tutorial (Hour 1) | Sword | Worn Longsword | Teaches Posture basics, low Tarstone cost |
| Hollow Reach (Hour 2-4) | Sword | Tarnished Greatsword | High posture damage, carries through Act 2 |
| Hollow Reach (Hour 3-5) | Sidearm | Scrap Crossbow | Reliable ranged option for Harden punishes |
| Sunken Chapel (Hour 5-8) | Sword | Crimson Saber | Fast swing speed, bleed buildup on ripostes |
| Ashveil Depths (Hour 8-12) | Sidearm | Bone Repeater | Burst damage, pairs with Tiel's shadow dodge |
The Worn Longsword you start with is not a throwaway. Community testers confirmed that upgrading it to +3 early costs fewer materials than any other weapon, and its moveset teaches you the rhythm of the Posture system without punishing mistakes. Because Mortal Shell II removes the stamina bar entirely, your attack cadence depends on enemy posture recovery, and the longsword's balanced swing speed gives you the widest margin for error.
Once you clear the Hollow Reach mini-boss, the Tarnished Greatsword becomes available from a locked chest behind the second shrine. This weapon deals 30% more posture damage per swing than the longsword, which means you break enemy guards in three hits instead of five. The tradeoff is a slower recovery window, so pair it with a Shell that has high durability, like the Venerable Acolyte, to absorb counterattacks while you reset your stance.
Upgrade Materials and Where They Hide
Upgrade materials in Mortal Shell II follow a tiered rarity system, and the official Steam listing confirms that weapon upgrades scale across more than 80 dungeons. That scale means you will never run out of things to find, but it also means you need to prioritize which materials matter at each stage of your run. The open beta data shows that Tarstone Shards appear in every dungeon, while Quicksilver Chunks only drop from elite enemies and hidden caches.
| Material | Rarity | Where to Find | Best Use |
|---|---|---|---|
| Tarstone Shard | Common | Every dungeon, breakable pots | Early +1 to +2 upgrades |
| Tarstone Chunk | Uncommon | Elite enemies, chests in Hollow Reach | +3 to +4 upgrades |
| Quicksilver Chunk | Rare | Hidden caches, Ashveil Depths elites | +5 to +6 upgrades |
| Luminary Fragment | Epic | Boss drops, secret walls | +7 to +8 upgrades |
| Eternal Core | Legendary | Endgame dungeons, NG+ | Max-level weapon unlocks |
The jump from +4 to +5 is the most significant power spike in the game, according to community testing. At +5, most weapons unlock a secondary passive effect, such as the Crimson Saber's bleed application on every third hit or the Tarnished Greatsword's posture damage bonus against armored enemies. Because Quicksilver Chunks are the gatekeeper for this tier, you should always check hidden walls in the Ashveil Depths before spending materials elsewhere.
For a complete breakdown of every weapon's upgrade path and stat scaling, check our full weapon upgrade guide that covers all 24 obtainable weapons in the base game. The material economy is generous enough that you can fully upgrade two weapons per playthrough, but spreading materials across three or more will leave you stuck at +3 across the board by the time you reach the final boss.
Sidearm Strategies: Ranged Options That Matter
Sidearms in Mortal Shell II are not backup tools; they are Posture pressure instruments that let you control engagement distance. The official website highlights that sidearms deal posture damage alongside their physical damage, which means a well-timed shot can stagger an enemy just as you close the gap for a Riposte Takedown. Community beta testers report that the Scrap Crossbow and Bone Repeater are the two most versatile options, but each fills a different role.
Scrap Crossbow: The Patient Punisher
The Scrap Crossbow fires a single, high-damage bolt that excels at punishing enemy whiffs. When an enemy commits to a heavy attack and misses, you can Harden, absorb the recovery frames, then fire a bolt that deals 40% of their posture bar in a single hit. This weapon shines against bosses with long recovery animations, because you can maintain constant pressure without ever entering melee range.
Bone Repeater: The Aggressive Burst
The Bone Repeater fires three quick shots that each deal modest damage but build up posture quickly. According to player reports, the full burst breaks most standard enemies' posture in one volley, which sets up an immediate Riposte Takedown. The downside is a long reload animation, so you need to time your usage carefully. Pair it with Tiel's shadow-enhanced dodge to create distance during the reload window, then re-engage with a full burst.
| Sidearm | Damage Per Shot | Posture Damage | Reload Speed | Best Shell Synergy |
|---|---|---|---|---|
| Scrap Crossbow | High | 40% of posture bar | Slow | Venerable Acolyte (tank) |
| Bone Repeater | Low-Moderate | 15% per shot | Very Slow | Tiel (mobility) |
| Hand Cannon | Very High | 60% of posture bar | Extremely Slow | Soloman (strength) |
| Thorn Launcher | Moderate | 25% per volley | Medium | Hadern (balanced) |
The Hand Cannon is the highest-damage sidearm in the game, but its extremely slow reload means you will likely only fire it once or twice per encounter. Community data suggests it is best saved for boss fights where a single massive hit can interrupt a dangerous attack pattern. The Thorn Launcher offers a middle ground with a three-shot volley that spreads posture damage across multiple enemies, making it ideal for crowd control in the more crowded dungeons.
For a deeper look at how sidearms interact with specific Shell abilities and loadout combinations, read our weapon loadout guide that breaks down the best pairings for each playstyle. The key takeaway is that sidearms are not a replacement for melee combat; they are a force multiplier that rewards players who understand the Posture system's rhythm.
Weapon Combos Guide: Posture Pressure Patterns
The Mortal Shell II weapon combos guide section below covers the three most effective attack patterns that community testers have verified across the open beta. Because the game removes stamina, your limiting factor is posture recovery on both sides, which means the best combos alternate between aggressive pressure and brief defensive pauses.
The Harden Reset Combo
This combo works with any weapon but shines with the Tarnished Greatsword. Start with two heavy attacks to build enemy posture, then immediately Harden to absorb the counterattack. While hardened, your posture bar refills, and you can release with a Riposte Takedown if the enemy's posture broke. The full sequence takes about six seconds and deals roughly 70% of an elite enemy's health bar.
The Sidearm Stagger Loop
Begin with a Bone Repeater burst to stagger the enemy, then close the distance with a sprinting light attack. Follow with two quick light attacks, then back away and fire another burst. This loop keeps the enemy in a constant stagger state against most standard enemies, and it is particularly effective against the Ashveil Stalkers that appear in the mid-game dungeons.
The Bleed Accumulator
The Crimson Saber's bleed passive triggers on every third hit, so the optimal pattern is three light attacks, a dodge, then three more light attacks. Each bleed tick deals damage over time and also reduces the enemy's posture recovery speed, which means they stay staggered longer. Against bosses, this combo can effectively lock them into a cycle of bleed procs and Riposte Takedowns.
| Combo | Weapon Requirement | Difficulty | Best Against | Risk Level |
|---|---|---|---|---|
| Harden Reset | Any, best with Greatsword | Beginner | Elites, slow bosses | Low |
| Sidearm Stagger | Bone Repeater | Intermediate | Standard enemies, stalkers | Medium |
| Bleed Accumulator | Crimson Saber | Intermediate | Fast bosses, humanoids | Medium |
| Full Posture Break | Any + Hand Cannon | Advanced | All boss types | High |
The Full Posture Break combo is the highest-risk, highest-reward pattern. It requires you to build enemy posture to near-breaking point, then fire a Hand Cannon shot to trigger the break, followed by a charged heavy attack for massive damage. The timing window is tight, and a mistimed shot leaves you vulnerable during the reload, but the damage output is unmatched. Community players report this combo can shave 30% off boss fight durations when executed correctly.
Shell and Weapon Synergy: Matching Loadouts
Your Shell choice dramatically affects which weapons perform best, and the official website confirms there are eight playable Shells total, each with its own class and unique abilities. The open beta only featured four, but community data from the test build already reveals clear synergy patterns that will carry into the full release.
| Shell | Class | Best Weapon Type | Why It Works |
|---|---|---|---|
| Venerable Acolyte | Tank | Greatsword, Heavy weapons | High durability absorbs slow recovery |
| Tiel | Rogue | Fast swords, Sabers | Shadow dodge compensates for low defense |
| Soloman | Strength | Greataxe, Hammer | Raw damage multiplier boosts heavy hits |
| Hadern | Balanced | All weapon types | Versatile abilities adapt to any moveset |
| Eredrim | Executioner | Greatsword, Spear | Execution bonuses reward posture breaks |
| Harros | Knight | Longsword, Shield | Defensive stance boosts Harden windows |
The Venerable Acolyte is the recommended Shell for players following this weapon find guide, because its durability lets you experiment with slower weapons without punishing mistakes. The Tarnished Greatsword becomes significantly easier to use when you can absorb two or three extra hits while waiting for your recovery frames to finish.
For players who prefer a faster playstyle, Tiel with the Crimson Saber creates a devastating bleed-focused build. Tiel's shadow-enhanced dodge gives you invincibility frames that let you stay aggressive, and the saber's bleed procs compound with Tiel's innate critical strike chance. Community testers report this combination clears the Sunken Chapel boss in under two minutes with proper execution.
If you want to understand how Shell upgrades interact with weapon scaling, our shell upgrade guide covers the optimal upgrade order for each Shell class. The short version is that weapon damage scales primarily with upgrade level, but Shell abilities can add multiplicative bonuses that make certain pairings far stronger than their individual components suggest.
Advanced Weapon Find Locations: Hidden Caches and Secret Walls
Beyond the main path, Mortal Shell II hides several powerful weapons behind optional challenges and secret walls. The game's more than 80 dungeons provide ample opportunity for exploration, but the highest-value finds require specific actions or puzzle solutions. Community players have already mapped out the most significant hidden weapons in the open beta zones.
The Sunken Chapel contains a secret wall behind the third altar that leads to the Crimson Saber's upgraded variant, the Bloodletter Saber. To access it, you must light all four braziers in the chapel within a single run without dying. The reward is a weapon that deals 20% more bleed damage and applies bleed on every second hit instead of every third.
The Ashveil Depths hide the Bone Repeater's best-in-slot alternative, the Grave Whisperer, behind a boss that only spawns if you collect all seven hidden skulls scattered across the zone. This sidearm fires a five-shot volley with 30% more posture damage per shot, making it the strongest sidearm in the game for posture pressure.
| Hidden Weapon | Location | Requirement | Effect |
|---|---|---|---|
| Bloodletter Saber | Sunken Chapel secret wall | Light 4 braziers without dying | Bleed on every 2nd hit |
| Grave Whisperer | Ashveil Depths hidden boss | Collect 7 hidden skulls | 5-shot volley, +30% posture |
| Duskbringer Greatsword | Hollow Reach underwater cave | Defeat the Drowned Knight | Dark damage on heavy attacks |
| Stormcaller Crossbow | Endgame dungeon | Solve the lightning puzzle | Chain lightning on hit |
The Duskbringer Greatsword is arguably the strongest weapon in the game for posture breaking, dealing 50% more posture damage than the standard Tarnished Greatsword. Its dark damage effect also bypasses enemy armor, which makes it effective against heavily armored foes that resist physical damage. The Stormcaller Crossbow adds chain lightning to every bolt, which can stagger multiple enemies simultaneously, making it invaluable for crowd control in the final dungeons.
For a complete ranking of every weapon in the game, including the hidden finds above, check our top weapons tier list that evaluates each weapon across multiple categories including posture damage, swing speed, and Shell synergy. The tier list updates regularly based on community testing, so check back after major patches.
Frequently Asked Questions
What is the best weapon to find early in Mortal Shell II?
The Tarnished Greatsword in the Hollow Reach is the best early weapon because it deals 30% more posture damage than the starting longsword and carries through Act 2. Unlock it from the locked chest behind the second shrine after defeating the mini-boss.
How do upgrade materials scale in Mortal Shell II?
Upgrade materials follow a five-tier rarity system, from common Tarstone Shards to legendary Eternal Cores. The jump from +4 to +5 is the most significant power spike, unlocking secondary passive effects on most weapons. Quicksilver Chunks are the gatekeeper for this tier.
Which sidearm pairs best with the Posture system?
The Bone Repeater pairs best with the Posture system because its three-shot burst breaks most standard enemies' posture in one volley, setting up immediate Riposte Takedowns. The Scrap Crossbow is better for boss fights where you need single, high-damage punishes.
Can I fully upgrade more than one weapon per playthrough?
Yes, the material economy supports fully upgrading two weapons per playthrough. Spreading materials across three or more weapons will leave you stuck at +3 across the board by the endgame. Prioritize one melee weapon and one sidearm for the best results.
Are hidden weapons worth the extra effort?
Yes—hidden weapons like the Bloodletter Saber and Grave Whisperer add bleed on every second hit or a five-shot volley with 30% more posture damage. That edge justifies the detour, especially for posture-break builds. Prioritize them early if you’re chasing burst damage.