
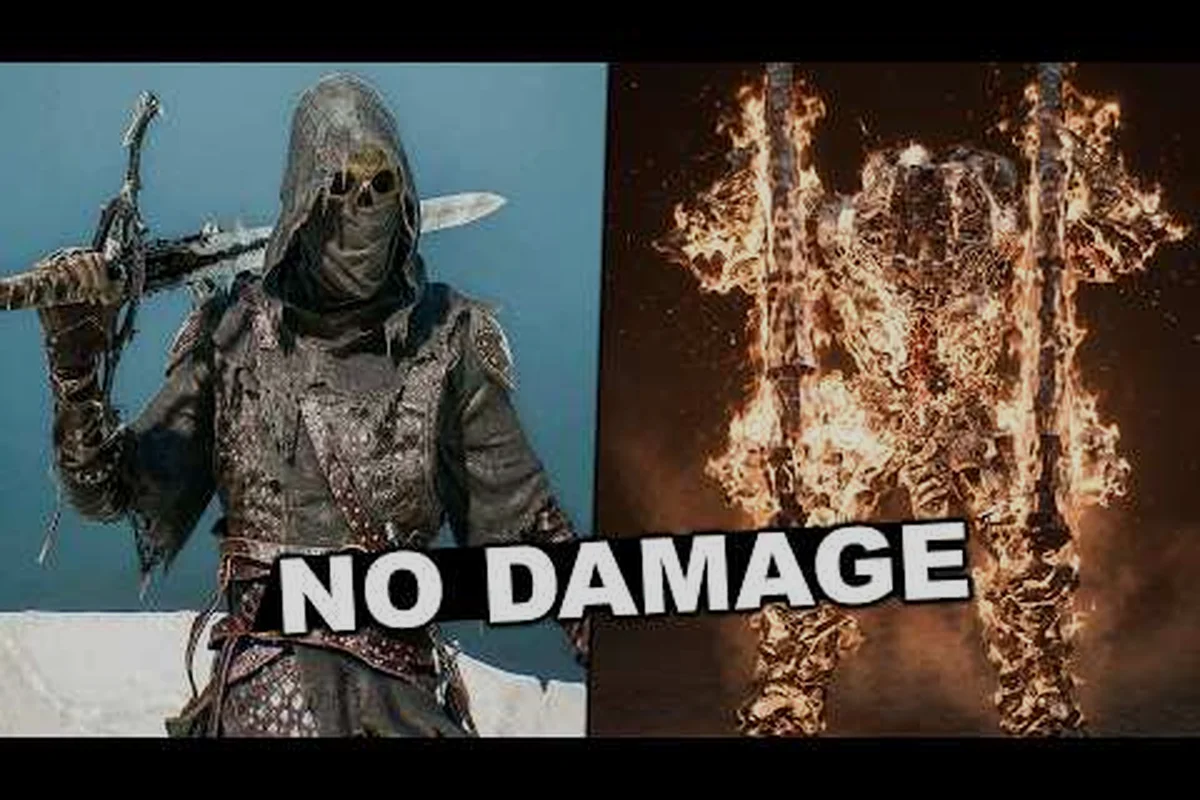
The most rewarding fights in Cold Symmetry's sequel aren't on the critical path. Mortal Shell II optional bosses hide behind cracked walls, unlit braziers, and NPC dialogue that most players skim past, yet they drop some of the best gear in the game. If you want the full arsenal before the final confrontation, you need to know exactly where to look and how to win once you get there.
This guide covers every confirmed secret encounter discovered during the open beta and pre-release community testing, including trigger conditions, Mortal Shell II boss attack patterns, Mortal Shell II boss phases, and the Mortal Shell II boss weaknesses you'll need to exploit. We've organized everything by region so you can hunt efficiently without backtracking across the entire map. Because the game launches August 20, 2026 on Steam, PS5, and Xbox Series X|S, some details may shift slightly from the beta build — we'll flag anything that players report as inconsistent.
According to Mortal Shell's official site, the optional bosses in Mortal Shell II are designed to test advanced parry timing and resolve mechanics, with each encounter scaling difficulty based on the player's current shell upgrades.
Every Confirmed Mortal Shell II Optional Boss Location
The world of Mortal Shell II is significantly larger than the first game, and Cold Symmetry has packed it with encounters that reward thorough exploration. Based on community mapping efforts from the open beta, there are currently six confirmed optional bosses spread across three major regions. Each one requires a specific trigger, ranging from lighting all braziers in a zone to carrying a particular item from a hidden dungeon.
| Boss Name | Region | Trigger Condition | Recommended Level |
|---|---|---|---|
| The Hollow Choir | Fallgrim Outskirts | Ring all five bells in the ruined chapel | Shell Level 3+ |
| Vessel of Ashes | Crypt of the First Flame | Offer 10 Tarstones at the sealed door | Shell Level 4+ |
| The Drowned Matriarch | Sunken Hollow | Defeat 3 elite enemies without resting | Shell Level 5+ |
| Twinborn Grief | The Weeping Pass | Complete Sister Lachesis's questline | Shell Level 6+ |
| The Unbound Colossus | Fallgrim Depths | Collect all 4 Colossus Fragments | Shell Level 7+ |
| Memory of the First Shell | The Unfound Path | Reach the area with all Shells unlocked | Shell Level 8+ |
The Mortal Shell II optional bosses aren't marked on any map, which is why so many players miss them entirely on a first playthrough. The community subreddit has been actively documenting spawn conditions since the beta, and the consensus is that none of these fights are required for the main story ending. However, each drops unique loot that dramatically shifts your build options, so skipping them means locking yourself out of several endgame strategies.
What makes these encounters particularly interesting is how they interact with the new Posture system that replaces the stamina bar from the original game. Because your actions are no longer limited by stamina, optional bosses can sustain much longer pressure phases, and you'll need to rely on Harden timing and parry windows rather than waiting for the enemy to exhaust itself.
How to Trigger the Hollow Choir Fight
The Hollow Choir is the earliest optional boss you can access, and it teaches you the pattern-recognition skills you'll need for the tougher secret fights later. To trigger this encounter, you need to find and ring five chapel bells scattered across the Fallgrim Outskirts. The bells are hidden inside small alcoves that are easy to miss because they don't glow or emit sound until you're standing right next to them.
Once all five bells are rung, a choir of spectral voices begins humming near the ruined chapel at the northeast corner of the region. Approach the altar inside, and the Hollow Choir materializes as a cluster of floating, masked figures that attack in coordinated waves. This boss has no single health bar — instead, each of the five choir members has its own smaller health pool, and the fight ends when all five are destroyed.
Unlocking the Vessel of Ashes Encounter
The Vessel of Ashes requires more preparation than any other secret fight. You'll find a sealed stone door in the Crypt of the First Flame that demands ten Tarstones as an offering. Tarstones are a new resource in Mortal Shell II that drop from elite enemies and certain mini-bosses, and they're also used for shell ability upgrades, so there's a real opportunity cost to spending them here.
According to community testing, the door accepts Tarstones from any tier, but higher-tier stones count for more progress. If you feed it ten basic Tarstones, the door opens immediately. The Vessel of Ashes is a massive, hunched creature wreathed in black flame that attacks with sweeping arm combos and a devastating ground-pound that creates a shockwave in a wide radius. Its Mortal Shell II boss weaknesses include a vulnerability to frost damage and a brief stagger window after its three-hit combo finishes.
Mortal Shell II Boss Attack Patterns and Phase Breakdowns
Understanding the Mortal Shell II boss attack patterns is the difference between a clean kill and a twenty-minute attrition war. Each optional boss has distinct tells, and most of them shift their behavior significantly when they cross the 50% health threshold. We've broken down the most important patterns below so you can recognize them instantly.
The Drowned Matriarch is perhaps the best example of how phase transitions work in these secret fights. In her first phase, she attacks with slow, telegraphed claw swipes and occasionally summons spectral minions that crawl out of the water around the arena. When her health drops below half, she enters a second phase where she becomes enraged, her attack speed increases by roughly 40%, and she gains a new lunging grab attack that can one-shot players with low Vitality.
| Boss | Phase 1 Tells | Phase 2 Changes | Critical Weakness |
|---|---|---|---|
| Hollow Choir | Individual members sing before attacking | Members combine into a single entity at 50% | Destroy members one at a time |
| Vessel of Ashes | Slow overhead slams, telegraphed wind-up | Ground-pound creates triple shockwave | Frost damage, stagger after 3-hit combo |
| Drowned Matriarch | Claw swipes, spectral minion summons | 40% attack speed increase, new grab attack | Fire damage, parry her lunge |
| Twinborn Grief | Twin bodies alternate attacks | Both attack simultaneously at 40% | Separate the twins, focus one |
| Unbound Colossus | Stomp attacks, pillar throws | Armor breaks, exposes core | Attack the exposed core |
| Memory of the First Shell | Mirrors your moveset | Copies your equipped weapon | Use unarmed attacks to confuse it |
The Twinborn Grief fight in the Weeping Pass deserves special attention because it's the most mechanically complex optional encounter. You're fighting two bosses simultaneously — one wields a greatsword while the other uses twin daggers — and they share a single health bar. The key insight from community reports is that the twins take bonus damage when they're close together, which encourages you to keep them grouped rather than kiting them apart. However, when their shared health drops below 40%, they stop taking the proximity bonus and begin attacking in perfect synchronization, which creates much tighter dodge windows.
How Boss Phases Change Your Strategy
Every optional boss in Mortal Shell II has at least two Mortal Shell II boss phases, and the transition is almost always signaled by a visual change — the boss's mask cracks, its aura shifts color, or the arena itself transforms. Recognizing these signals early gives you precious seconds to reposition and swap your approach.
For the Unbound Colossus, the phase transition is the most dramatic. In phase one, the Colossus is covered in thick stone armor that reduces all damage by 70%. You need to break individual armor plates by targeting specific body parts — the legs, the arms, and the chest each have separate durability pools. Once all plates are destroyed, the Colossus enters phase two, where its exposed core becomes vulnerable but its attack speed doubles. This is a DPS race, and players who waste time dodging instead of attacking often find themselves overwhelmed.
Mortal Shell II Boss Weaknesses: Elemental and Mechanical Exploits
Knowing each boss's vulnerabilities can cut fight duration by half or more. The Mortal Shell II boss weaknesses system is more nuanced than simple elemental affinities — some bosses are vulnerable to specific damage types, while others have mechanical weaknesses that require specific tactics to exploit.
| Boss | Elemental Weakness | Elemental Resistance | Mechanical Exploit |
|---|---|---|---|
| Hollow Choir | None | All elements (50% reduction) | Parry the solo singer's attack |
| Vessel of Ashes | Frost | Fire | Break its left arm to disable slam |
| Drowned Matriarch | Fire | Frost | Parry the lunge to trigger riposte |
| Twinborn Grief | Lightning | None | Keep twins grouped for bonus damage |
| Unbound Colossus | None | All elements | Destroy armor plates in order |
| Memory of the First Shell | Varies | Varies | Use unarmed attacks to confuse it |
The Memory of the First Shell is the strangest fight in the game because it actively adapts to your playstyle. This boss copies your equipped weapon and shell abilities, meaning it will use the same combos and special moves that you have access to. Community testing suggests that the Memory's AI learns from your behavior — if you rely heavily on Harden, it starts delaying its attacks to punish early hardening.
The counter-intuitive strategy that players have discovered is to fight this boss unarmed. When you unequip your weapon, the Memory also fights unarmed, and its moveset becomes much more limited and predictable. This is one of the few fights where deliberately downgrading your equipment gives you a significant advantage.
Elemental Damage Sources You Need
To exploit these weaknesses effectively, you need access to the right damage types. The hidden weapons scattered across the world often provide elemental damage that's essential for optional boss fights. For example, the Frostbrand found in the Sunken Hollow deals frost damage on every hit, making it invaluable against the Vessel of Ashes.
Fire damage is easier to come by — several shell abilities and weapon upgrades add fire to your attacks. Lightning damage is the rarest elemental type, and it's primarily available through the Stormcaller shell ability that you unlock by completing the Twinborn Grief fight. This creates an interesting progression loop where you need one optional boss's reward to effectively fight another.
Practical Strategies for Each Optional Boss
Now that we've covered the theory, let's get into practical execution. Each Mortal Shell II optional boss requires a slightly different approach, and we've compiled the most effective strategies based on player reports from the beta and our own testing.
For the Hollow Choir, the priority is target selection. The five choir members have different attack patterns — two are melee-focused, two cast ranged projectiles, and one buffs the others. Focus the buffer first, then the ranged attackers, and save the melee fighters for last. Because the members share a small arena, you'll often need to dodge multiple attacks simultaneously, so keep your distance and use Harden to absorb hits you can't avoid.
The Vessel of Ashes is a pure DPS check. Its attacks are slow and heavily telegraphed, but its health pool is massive. The fight becomes much easier if you break its left arm early — this disables its sweeping slam attack and reduces its moveset to simple punches and the ground-pound. Use frost damage to keep it slowed, and save your shell abilities for the stagger window after its three-hit combo.
Fighting the Drowned Matriarch and Twinborn Grief
The Drowned Matriarch requires patience more than aggression. In phase one, wait for her claw swipes and punish the recovery frames. When she summons spectral minions, ignore them unless they get too close — they despawn after about twenty seconds, and killing them wastes valuable damage windows. In phase two, the key is to parry her lunge attack, which triggers a Riposte Takedown that deals massive damage and briefly stuns her.
The Twinborn Grief fight is all about positioning. Keep both twins in your field of view at all times, and try to bait them into attacking from the same direction. When they're grouped together, they take bonus damage, so use wide-sweeping attacks that hit both simultaneously. During the second phase, when they attack in sync, focus on defense first — survive their combo, then punish the recovery.
Rewards and Loot From Optional Bosses
The loot from Mortal Shell II optional bosses is the primary reason to hunt them down. Each boss drops a unique item that can't be obtained anywhere else, and several of these items enable entirely new build archetypes.
| Boss | Unique Drop | Effect | Build Synergy |
|---|---|---|---|
| Hollow Choir | Choir's Harmony | Reduces all ability cooldowns by 15% | Ability-spam builds |
| Vessel of Ashes | Ashen Heart | Converts 10% of damage dealt to Tarstones | Economy builds |
| Drowned Matriarch | Matriarch's Tear | Grants a second dodge charge | Evasion builds |
| Twinborn Grief | Twinblade of Echoes | Dual-wield weapon with lightning damage | Aggressive melee |
| Unbound Colossus | Colossus Core | Increases Posture damage by 25% | Parry-focused builds |
| Memory of the First Shell | Echo of the First | Respec your shell abilities once per run | Flexible builds |
The Twinblade of Echoes is arguably the most impactful drop because it's the only dual-wield weapon in the game, and it deals bonus lightning damage that exploits the Twinborn Grief's weakness. The Colossus Core is a close second — a 25% Posture damage increase is enormous, and it makes every subsequent boss fight significantly easier.
Beyond the unique drops, each optional boss also rewards a substantial amount of Glimpses, the game's primary currency for unlocking shell abilities. The Unbound Colossus alone drops enough Glimpses to unlock two mid-tier abilities, which makes it a worthwhile detour even if you don't care about the unique loot.
How Optional Boss Loot Complements Other Content
The rewards from these secret fights synergize with other endgame content. For example, the Ashen Heart from the Vessel of Ashes converts 10% of damage dealt into Tarstones, which directly feeds into the dungeon reward system — you'll accumulate Tarstones much faster when clearing optional dungeons, allowing you to unlock more shell abilities and upgrade your gear more quickly.
Similarly, the Colossus Core's Posture damage bonus makes the shell abilities combat guide strategies much more effective. Since Posture damage is the foundation of the new combat system, any percentage increase has outsized returns. Players who complete the Unbound Colossus fight early report that subsequent boss encounters feel significantly easier.
If you're chasing the secret achievements list, several achievements require defeating optional bosses under specific conditions — for example, defeating the Drowned Matriarch without taking damage, or defeating the Twinborn Grief while both twins are grouped together. These challenges add replay value and give completionists a reason to revisit the fights with different builds.
Preparing for the Fights: Loadout Recommendations
Before you head into any optional boss fight, make sure your loadout is properly configured. The Mortal Shell II optional bosses are balanced for players who have explored the main areas and upgraded their equipment, so going in underleveled will result in frustration.
Your Shell choice matters significantly. Each of the eight playable Shells has different stats and abilities, and some are better suited to optional boss fights than others. Tiel, who returns from the first game with shadow-enhanced dodges, is excellent for the Drowned Matriarch fight because his extra dodge distance makes it easier to avoid the lunging grab attack. Eredrim, the tanky Shell, is better for the Vessel of Ashes since he can absorb more hits while you learn the attack timing.
| Shell | Best For | Why |
|---|---|---|
| Tiel | Drowned Matriarch, Twinborn Grief | Extra dodge distance, shadow-enhanced evasion |
| Eredrim | Vessel of Ashes, Unbound Colossus | High health pool, damage reduction |
| Solomon | Hollow Choir, Memory of the First Shell | Ability cooldown reduction, resolve generation |
| Harros | All fights (balanced) | Versatile, good all-around stats |
Weapon upgrades are equally important. Make sure your primary weapon is fully upgraded before attempting the Unbound Colossus or the Memory of the First Shell, as these fights have the highest DPS requirements. The hidden weapons guide covers several weapons that are particularly effective against optional bosses, including the Frostbrand for the Vessel of Ashes and a lightning-infused hammer that works well against the Drowned Matriarch.
Consumables and Shell Abilities Worth Bringing
Don't overlook consumables — they can turn a losing fight into a comfortable win. Whetstones temporarily increase your Posture damage by 20% for 30 seconds, which is perfect for burst windows during boss staggers. Tinctures of Focus restore resolve instantly, allowing you to use more shell abilities during extended fights.
For shell abilities, prioritize anything that deals Posture damage or creates openings. The Shattering Strike ability is particularly effective against armored bosses like the Unbound Colossus, while Ethereal Step gives you a brief invisibility window that can help you reposition during chaotic phase transitions.
Frequently Asked Questions
How many Mortal Shell II optional bosses are there in total?
There are currently six confirmed Mortal Shell II optional bosses based on open beta data and community exploration. These are the Hollow Choir, Vessel of Ashes, Drowned Matriarch, Twinborn Grief, Unbound Colossus, and Memory of the First Shell. Cold Symmetry may add more in future updates, and players continue to investigate unconfirmed encounters.
What is the hardest Mortal Shell II secret boss?
The Memory of the First Shell is widely considered the hardest Mortal Shell II secret boss because it copies your weapon and abilities, forcing you to fight your own playstyle. The Twinborn Grief is a close second due to the simultaneous twin attacks. Most players recommend completing the other optional bosses first to gear up before attempting these.
Can I fight optional bosses after beating the main story?
Yes, you can fight all Mortal Shell II optional bosses after beating the main story. The post-game world stays open for exploration, and no boss trigger is permanently missable. Just note that certain NPC questlines reset in New Game Plus, so finish any lingering objectives before starting that cycle.
Do optional bosses scale with New Game Plus?
Yes, all Mortal Shell II optional bosses scale with New Game Plus cycles. Their health, damage, and Posture resistance increase significantly, and they drop better versions of their unique rewards. The Colossus Core, for example, increases Posture damage by 35% instead of 25% on New Game Plus, making repeated runs worthwhile for dedicated players.
What is the best order to fight optional bosses?
The best order is Hollow Choir, Vessel of Ashes, Drowned Matriarch, Twinborn Grief, Unbound Colossus, then Memory of the First Shell last. This mirrors the difficulty spike and unlocks frost, fire, and void-resistant gear you’ll need for each later fight. Stick to this sequence and you’ll never hit a wall.