
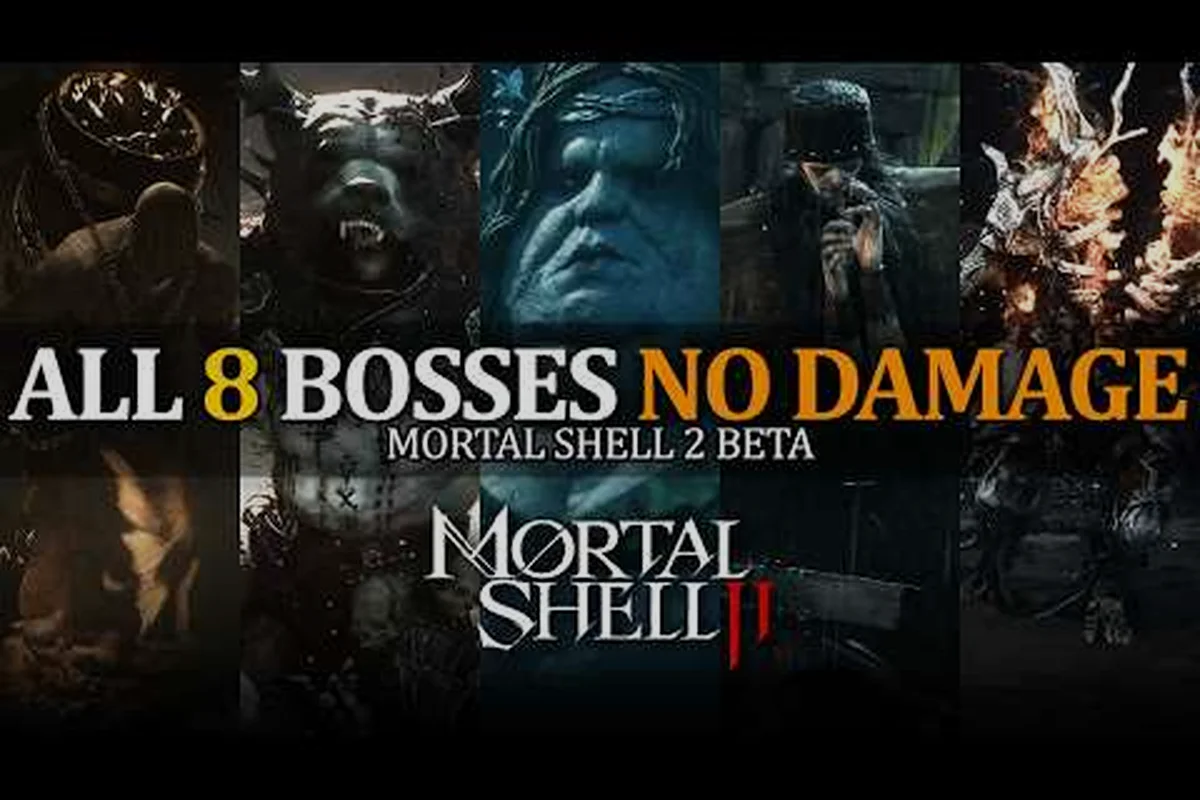
Mortal Shell II boss fights demand a completely different mindset than the first game, because the new Posture system replaces stamina entirely and rewards aggressive, well-timed pressure over patient hit-and-run tactics. Understanding this shift is the difference between a three-minute kill and a thirty-minute war of attrition, which is why mastering the rhythm of each encounter matters more than raw damage output. Get the latest breakdown of every major confrontation, from the tutorial gatekeeper to the final nightmare, with the exact openings, punishes, and positioning tricks that turn brutal walls into routine victories.
How Posture Shapes Every Boss Encounter
The core of every Mortal Shell II boss fight revolves around breaking your opponent's Posture meter, a hidden gauge that fills when you land attacks, execute successful parries, and land Riposte Takedowns. According to the official Mortal Shell II website, combat is unrestricted by stamina, which means you can swing, dodge, and Harden as much as you want — but every action you take without landing a hit leaves you vulnerable to a counter-attack. This creates a fascinating risk-reward loop where the best defense is genuinely a relentless offense, because bosses stagger and become vulnerable to critical strikes only after their Posture breaks.
Community testing from the open beta, as reported by players on the r/MortalShell subreddit, suggests that most bosses have a Posture threshold roughly equivalent to 12 to 18 heavy attacks or 6 to 9 successful parries, depending on the Shell you are using and the weapon's Posture damage stat. The Fextralife beta preview confirms that parry or block builds stagger enemies faster, while Tarstones and shell abilities also contribute to Posture damage, so you are not limited to just swinging your weapon.
How Posture Damage Accumulates
Every source of Posture damage falls into one of four categories, and mixing them is the fastest way to break a boss's stance:
-
Light attacks deal roughly 5-7 Posture damage per hit, which is low but safe because they recover quickly.
-
Heavy attacks deal 12-18 Posture damage but leave you exposed for a full second after the swing.
-
Parries deal 20-25 Posture damage and also stagger the boss briefly, creating a free attack window.
-
Shell abilities and Tarstones vary wildly, with some dealing up to 30 Posture damage on a direct hit.
The key insight is that Posture damage does not decay over time during a boss fight, unlike the old stamina system. Once you deal Posture damage, it stays until the boss recovers through a specific animation, such as a roar or a phase transition. This means you can chip away at a boss's Posture with safe light attacks, then commit to a heavy attack or parry when you know the break is one hit away.
| Posture Source | Damage Range | Risk Level | Best Use Case |
|---|---|---|---|
| Light Attack | 5-7 | Low | Safe chip damage between boss combos |
| Heavy Attack | 12-18 | High | Punishing long recovery animations |
| Parry | 20-25 | Very High | Countering telegraphed heavy strikes |
| Shell Ability | 15-30 | Medium | Opening a fight or breaking a phase transition |
All Mortal Shell II Boss Locations and Order
Knowing the Mortal Shell II all boss locations in advance lets you prepare the right Shell, weapon upgrades, and consumables before each confrontation, because several bosses are entirely optional and hidden behind branching dungeon paths. The main story forces you through six mandatory encounters, while three optional super-bosses await players who explore every corner of the game's more than 80 dungeons, as detailed on the Steam store page.
The first boss you will face is The Hollow Warden, a massive armored knight who guards the exit of the tutorial area, Fallen Reach. He is designed to teach you the Posture system, so his attacks are slow, heavily telegraphed, and punishable with a well-timed parry. Most players beat him on the first attempt because his health pool is intentionally low, but he still hits hard enough to punish button-mashers.
From there, the critical path takes you through The Ashen Matriarch in the Scorched Catacombs, The Drowned Colossus at the bottom of Sunken Hollow, The Crimson Inquisitor in the Bloodlit Spire, and The Twin Revenants in the Forsaken Cathedral. Each of these bosses introduces a new mechanic that you must master before the final encounter, and each one has a distinct arena that affects your positioning strategy.
Complete Boss Progression Table
| Boss Name | Location | Mandatory? | Recommended Level | Key Mechanic |
|---|---|---|---|---|
| The Hollow Warden | Fallen Reach | Yes | Shell Level 1 | Posture tutorial, parry timing |
| The Ashen Matriarch | Scorched Catacombs | Yes | Shell Level 3 | Adds that heal the boss |
| The Drowned Colossus | Sunken Hollow | Yes | Shell Level 5 | Environmental water hazards |
| The Crimson Inquisitor | Bloodlit Spire | Yes | Shell Level 7 | Phase-based attack patterns |
| The Twin Revenants | Forsaken Cathedral | Yes | Shell Level 9 | Two bosses, shared health bar |
| The Hollow King | The Unfound Path | Yes | Shell Level 11 | Final boss, all mechanics combined |
| The Void Stalker | Hidden Cavern | No | Shell Level 12 | Super-boss, extreme damage |
| The Eternal Flame | Volcanic Depths | No | Shell Level 13 | Super-boss, fire immunity phases |
| The First Shell | The Origin | No | Shell Level 15 | Secret boss, hardest in the game |
The optional bosses are where the real challenge lives, and the Mortal Shell II hardest boss is widely considered to be The First Shell, a secret encounter that requires you to collect all eight playable Shells and return to the Origin point. According to community reports, this fight lasts upwards of fifteen minutes on a first attempt because the boss cycles through every mechanic from the entire game, including summoning copies of earlier bosses during its final phase.
Mortal Shell II First Boss Strategy: The Hollow Warden
The Mortal Shell II first boss serves as your introduction to the game's core combat loop, and beating him cleanly sets the tone for everything that follows. The Hollow Warden is a large knight wielding a greatsword, and his moveset consists of five attacks: a horizontal slash, a vertical smash, a lunging thrust, a spinning AoE, and a shield bash that he uses only when you stay too close for too long.
Your primary goal in this fight is to learn the parry timing for his horizontal slash and vertical smash, because both attacks have a distinctive wind-up animation that tells you exactly when to press the parry button. The horizontal slash starts with the Warden pulling his sword back to his right hip, and you should parry just as the blade begins moving forward. The vertical smash has a longer wind-up, with the sword raised above his head for a full second, and the parry window is slightly earlier than you might expect.
If parrying feels too risky, you can win this fight with pure dodging and light attacks, but it will take significantly longer. The Warden's Posture meter breaks after roughly 10 light attacks or 4 parries, and the Riposte Takedown animation deals massive damage while restoring a portion of your health, making it the most efficient way to end the fight quickly.
Step-by-Step First Boss Kill
-
Phase 1 (100%-60% HP): Stay at mid-range and bait his horizontal slash. Parry it, land two light attacks, then back off. Repeat until his Posture breaks, then perform the Riposte Takedown.
-
Phase 2 (60%-30% HP): He adds the spinning AoE attack, which has a long wind-up but covers a wide radius. When you see him plant his sword in the ground, dodge backward twice and wait for the shockwave to pass.
-
Phase 3 (30%-0% HP): He becomes more aggressive, chaining two or three attacks together. Focus on dodging the first attack, then parrying the second, because the parry window is easier to hit when you are already in motion.
The entire fight should take two to three minutes once you internalize the parry timing, and the reward is a Weapon Tarstone that increases your Posture damage by 15% for the rest of the playthrough. This is a significant boost that makes every subsequent boss fight easier, so it is worth mastering the parry now rather than relying on dodges.
Hardest Boss Fights and How to Survive Them
While the first boss teaches you the basics, the Mortal Shell II hardest boss encounters demand mastery of every system the game offers, including Shell switching, weapon upgrades, and consumable management. The Twin Revenants are often cited as the biggest difficulty spike in the main story because they force you to split your attention between two enemies that share a health bar but attack on different rhythms.
The key to the Twin Revenants fight is recognizing that only one Revenant attacks at a time while the other teleports around the arena. The active Revenant telegraphs its attacks with a purple glow, while the inactive one is vulnerable to damage but will teleport away after taking three hits. The optimal strategy is to focus all your Posture damage on the inactive Revenant, because it does not fight back, then switch to the active one once its partner's Posture breaks.
For the optional super-bosses, the difficulty escalates dramatically. The Void Stalker has an attack that can one-shot most Shells at the recommended level, and the Eternal Flame becomes immune to fire damage after its first phase, forcing you to switch weapons or rely on physical damage. The First Shell, however, is in a league of its own, combining every mechanic from the game into a single, exhausting encounter.
Hardest Boss Comparison Table
| Boss | Difficulty Rating | Main Threat | Best Shell | Recommended Weapon |
|---|---|---|---|---|
| The Twin Revenants | 8/10 | Split attention, teleporting | Tank Shell | Heavy Hammer |
| The Void Stalker | 9/10 | One-shot attacks, fast combos | Rogue Shell | Twin Daggers |
| The Eternal Flame | 9/10 | Fire immunity, DoT damage | Acolyte Shell | Frost Blade |
| The First Shell | 10/10 | All mechanics combined | Any maxed Shell | Your strongest weapon |
Community data from the open beta suggests that the Rogue Shell is the best choice for the hardest boss fights because its shadow-enhanced dodges, as mentioned in the Fextralife preview, give you extra invincibility frames that are invaluable against multi-hit combos. If you want to optimize your build for these encounters, check out our rogue shell guide for a full breakdown of its abilities and upgrade priorities.
Easiest Boss Fights for Farming and Practice
Not every Mortal Shell II boss fight is a grueling test of skill, and the Mortal Shell II easiest boss is actually an optional encounter that many players miss entirely. The Ashen Matriarch, despite being a mandatory story boss, is surprisingly forgiving because her attacks are slow, her adds are fragile, and her Posture meter breaks after only eight light attacks.
The Matriarch's only dangerous mechanic is her ability to summon two fire imps that heal her over time. If you ignore the imps, the fight drags on and the healing outpaces your damage, but killing each imp takes only two light attacks. The optimal strategy is to kill the imps immediately when they spawn, then return your focus to the Matriarch. This makes the fight a straightforward DPS check that most players complete on their first attempt.
For players looking to practice parry timing without the risk of dying, the Hollow Warden is the best training dummy because his attacks are slow and his arena is small, meaning you can reset the fight quickly by dying and respawning at the nearby checkpoint. The Scorched Catacombs, where the Matriarch resides, is also one of the best farming spots in the game for Tarstones and upgrade materials, so you can combine practice with resource gathering.
Easiest Boss Ranking
| Boss | Difficulty Rating | Time to Kill | Best for Practice | Farming Value |
|---|---|---|---|---|
| The Hollow Warden | 2/10 | 2-3 minutes | Parry timing | Low |
| The Ashen Matriarch | 3/10 | 3-4 minutes | Add management | High |
| The Drowned Colossus | 5/10 | 4-5 minutes | Positioning | Medium |
| The Crimson Inquisitor | 6/10 | 5-6 minutes | Phase transitions | Medium |
The Drowned Colossus is a middle-ground fight that teaches you the importance of arena awareness, because the water level rises and falls throughout the encounter, creating hazards that can trap you in corners. Learning to position yourself on the high ground during the water phases makes this fight significantly easier, and the skill transfers directly to the harder boss fights later in the game.
Advanced Boss Fight Tactics and Shell Synergies
Once you have beaten every boss on a standard playthrough, the real depth of Mortal Shell II boss fights reveals itself through Shell synergies and advanced techniques. The game's eight playable Shells each have unique abilities that can completely change how you approach a boss fight, and the official website confirms that each Shell has its own class and unique abilities, from shadow-dancing acolytes to durability-focused tanks.
The Tank Shell is the best choice for learning new boss fights because its high durability and damage reduction let you survive mistakes that would kill other Shells. Its active ability, Iron Bulwark, reduces all incoming damage by 50% for five seconds, which is perfect for surviving a boss's most dangerous combo. The trade-off is lower damage output, so fights take longer, but the safety margin is worth it for learning encounters.
The Acolyte Shell excels at Posture damage because its abilities deal bonus Posture damage on top of their regular effects. Its Shadow Lash ability deals 30 Posture damage and pulls the boss toward you, which is excellent for interrupting long-range attacks and closing distance quickly. The Rogue Shell is the highest skill-ceiling option, with its shadow-enhanced dodges providing extra invincibility frames that allow you to dodge through attacks that would normally hit you.
Best Shell for Each Boss Fight
| Boss | Best Shell | Why It Works |
|---|---|---|
| The Hollow Warden | Tank Shell | Survive parry mistakes while learning timing |
| The Ashen Matriarch | Acolyte Shell | Kill adds faster with Shadow Lash |
| The Drowned Colossus | Rogue Shell | Dodge through water hazards with extra i-frames |
| The Crimson Inquisitor | Tank Shell | Survive phase transition burst damage |
| The Twin Revenants | Rogue Shell | Dodge both Revenants' attacks consistently |
| The Hollow King | Acolyte Shell | Maximize Posture damage for faster phase breaks |
| The First Shell | Any maxed Shell | Requires all mechanics, no single best option |
If you are struggling with a specific boss, consider exploring more dungeons to find upgrade materials and Tarstones, because the all dungeons guide covers every location and reward in the game. Each dungeon contains at least one Tarstone that permanently boosts a stat, and collecting them all can make the difference between a frustrating boss fight and a comfortable victory.
Frequently Asked Questions
What is the best Shell for Mortal Shell II boss fights?
The Rogue Shell is the best overall choice for boss fights because its shadow-enhanced dodges provide extra invincibility frames, letting you avoid multi-hit combos that would catch other Shells. However, the Tank Shell is better for learning new encounters since its damage reduction forgives mistakes while you memorize attack patterns.
How do I find all Mortal Shell II boss locations?
The six mandatory bosses follow the main story path, while the three optional super-bosses require exploration. The Void Stalker hides in a cave behind the Scorched Catacombs, the Eternal Flame awaits in the Volcanic Depths, and the First Shell appears only after collecting all eight Shells and returning to the Origin point.
What is the Mortal Shell II easiest boss?
The Hollow Warden is the easiest boss because he serves as the tutorial encounter, with slow attacks and a small health pool. The Ashen Matriarch is the second easiest, provided you kill her fire imp adds quickly, since her own attacks are slow and her Posture breaks after only eight light attacks.
How do I beat the Mortal Shell II hardest boss?
The First Shell requires mastering every mechanic in the game, including parrying, Hardening, Posture breaks, and Shell switching. Focus on learning its first phase attack patterns, then use your strongest Shell ability to break its Posture during phase transitions. Bring healing consumables and consider using the Rogue Shell for extra dodge invincibility frames.
Can I skip optional bosses in Mortal Shell II?
Yes, all three optional bosses can be skipped without altering the main ending. But they drop unique Tarstones and weapon upgrades that soften the final fight, plus Void Stalker and Eternal Flame unlock exclusive achievements. Most players fight them anyway—skipping only if speedrunning or chasing a challenge run.