
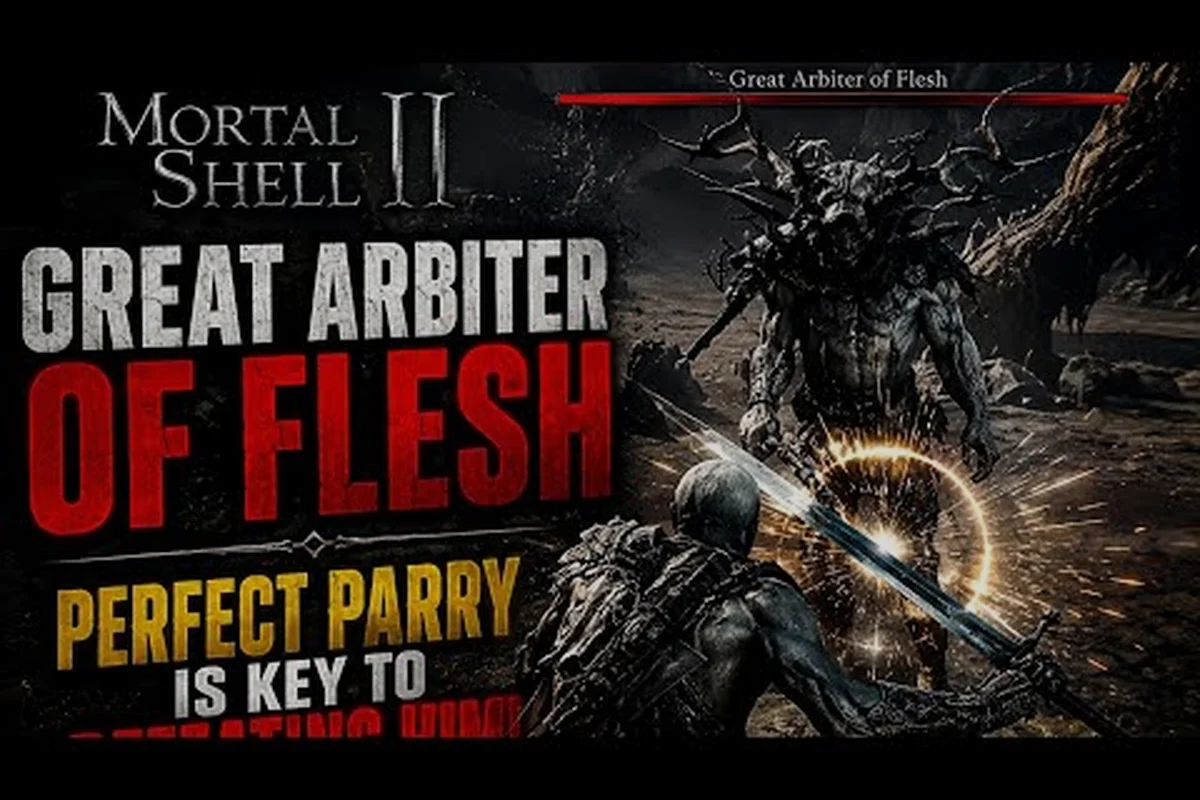
Mortal Shell II elite enemies are the gatekeepers scattered across the Unfound Path, and they decide whether your dungeon run ends in triumph or a respawn screen. These mini bosses guard key loot, shortcut levers, and the Tarstones you need to upgrade your Shell, so learning their patterns is not optional if you want consistent progress. The game's Posture system replaces the traditional stamina bar, which means every elite encounter becomes a rhythm puzzle where you trade blows to shatter their guard and land a critical Riposte Takedown. Get the breakdown of every elite archetype, their resistances, and the exact Shell abilities that turn these fights from frustrating to farmable.
Understanding Mortal Shell II Elite Enemies and Their Role
Elite enemies in Mortal Shell II are not just tougher versions of regular mobs; they are deliberate combat checks that teach you the mechanics you will need for the full boss fights later in the dungeon order. According to the official Cold Symmetry website, the game features eight playable Shells, each with a distinct class and unique abilities, and the elite roster is designed to pressure different aspects of your build. Some elites punish passive play with relentless pressure, while others demand aggressive posture breaking to prevent them from healing or buffing themselves. Recognizing which archetype you are facing is the first step to controlling the engagement.
The spawn logic for these mini bosses is consistent across the more than 80 dungeons mentioned on the Steam store page, though the exact placement shifts with each procedurally arranged layout. You will typically encounter an elite enemy in one of three situations: guarding a locked door, patrolling a chokepoint between two arenas, or appearing as a scripted ambush when you pick up a specific item. Community reports from the open beta indicate that elites drop Tarstones and weapon upgrade materials at a much higher rate than standard enemies, which makes them valuable farming targets once you learn their weaknesses.
Because the Posture system replaces stamina entirely, your approach to these fights differs from traditional soulslike combat. You can swing relentlessly until your own posture breaks, or you can play a patient parry game that builds stagger with every successful deflection. The Fextralife beta preview confirms that parry or block builds generate stagger quickly, and Riposte Takedowns deliver over a dozen brutal executions that restore a portion of your health. This creates a risk-reward loop where aggressive players are rewarded with faster kills, but punished harshly if they mistime a dodge.
Elite Enemy Archetype Breakdown
The elite roster falls into four broad categories, and each demands a different response. The Brute archetype uses slow, telegraphed overhead swings with massive damage, but leaves long recovery windows for punishment. The Blademaster favors quick combo strings that punish panic rolling, so you need to parry the final hit of each chain to create an opening. The Acolyte type buffs nearby enemies and occasionally teleports, which makes them priority targets in mixed groups. Finally, the Warden archetype carries a shield that blocks frontal attacks, forcing you to use posture-breaking abilities or dodge around to strike their exposed back.
| Archetype | Attack Pattern | Weakness | Recommended Response |
|---|---|---|---|
| Brute | Slow overhead slams, ground shockwaves | Long recovery after missed swing | Dodge through the swing, punish with 2-3 hits |
| Blademaster | 4-hit combo chains, quick lunges | Final hit of combo has long recovery | Parry the last hit, follow with Riposte |
| Acolyte | Teleport strikes, buffs nearby mobs | Low poise, interrupts easily | Focus fire with heavy attacks to stagger |
| Warden | Shield bash, frontal slash combos | Exposed back, vulnerable to sidearms | Use sidearm shots to break shield guard |
Each archetype also has a posture threshold that determines how many hits they can absorb before staggering. Brutes require roughly 8-10 heavy attacks, while Acolytes stagger after only 4-5 light hits. Learning these numbers matters because a staggered elite takes bonus damage and opens a window for a guaranteed critical strike, which is often enough to end the fight outright on lower difficulties.
Best Shell Abilities for Breaking Elite Posture
Choosing the right Shell for elite encounters can dramatically reduce the time you spend on each mini boss, and the best shell for boss fights in Mortal Shell II depends on your preferred playstyle. The Harros Shell remains the most balanced option for beginners because its Hardening ability lets you absorb a hit while attacking, which effectively doubles your damage windows against slow Brute elites. For players who prefer a more aggressive approach, Tiel returns with shadow-enhanced dodges that create afterimages, and his increased stamina recovery lets you chain more attacks before your own posture breaks.
The Solomon Shell excels against Blademaster elites because his boosted Resolve generation means you can use weapon abilities more frequently, and those abilities deal significant posture damage. According to community testing from the beta, Solomon's special attack can break a Blademaster's posture in just three uses, compared to five or six regular heavy attacks. If you are struggling with Warden elites, the Eredrim Shell offers massive health and damage bonuses, but his slow movement speed makes him vulnerable to the Acolyte's teleport strikes.
| Shell | Best Against | Key Ability | Posture Damage Bonus |
|---|---|---|---|
| Harros | Brute, Warden | Hardening (absorb hit while attacking) | +10% with Hardened attacks |
| Tiel | Blademaster, Acolyte | Shadow Dodge (extended invincibility frames) | +15% on dodge-attacks |
| Solomon | Blademaster, Warden | Weapon abilities cost less Resolve | +20% on ability hits |
| Eredrim | Brute, any high-health elite | Massive health pool, execution bonus | +25% on executions |
Your weapon choice also influences how quickly you break elite posture, and the weapon locations guide covers where to find the best early options. The Martyr's Blade offers a good balance of speed and posture damage, while the Cinder Hammer trades speed for massive stagger on every hit. If you are attempting a Mortal Shell II boss no damage run, the Hammer and Chisel paired with Tiel's dodge ability gives you the most control over spacing, because you can weave in and out of range while building posture damage with quick pokes.
Shell Ability Loadout Recommendations
Beyond the Shell itself, your equipped abilities determine how effectively you can exploit elite weaknesses. The Mending Echo ability restores health when you break an elite's posture, which is invaluable for extended dungeon runs where healing items are scarce. The Unbroken Promise ability grants a temporary damage buff after a successful parry, and it stacks with the bonus from breaking posture for devastating burst damage. For players attempting a Mortal Shell II boss no hit challenge, the Moment of Clarity ability slows time briefly after a perfect dodge, giving you a safe window to reposition or land a guaranteed heavy attack.
-
Mending Echo: Restores 15% health on posture break, essential for long dungeon stretches
-
Unbroken Promise: +20% damage for 10 seconds after parry, pairs well with Blademaster fights
-
Moment of Clarity: Slows time after perfect dodge, creates safe punish windows
-
Brutal Wrath: Increases posture damage by 30% when below 25% health, risky but powerful
These abilities require Resolve to activate, which builds as you land hits and successfully dodge attacks. Solomon's passive Resolve generation makes him the best shell for boss fights if you rely heavily on these active abilities, while Harros can build Resolve just as fast through his Hardening trades. Experiment with different combinations in the early dungeons to find a loadout that matches your aggression level.
Dungeon Bosses and Elite Enemy Placement Strategy
Understanding where Mortal Shell II dungeon bosses appear relative to elite enemies helps you plan your resource usage across a full run. The game's dungeon structure typically places 2-3 elite enemies between the entrance and the boss arena, and each elite you defeat drops a Dungeon Key fragment that unlocks the boss door. This means you cannot skip elites entirely, but you can choose which order to engage them based on your current health and Resolve levels. The dungeon order guide provides a recommended sequence for tackling the early dungeons, and it accounts for elite difficulty scaling.
The first dungeon, Cathedral of Ash, features a Brute elite guarding the shortcut to the boss arena, followed by a Blademaster in the courtyard before the fog wall. Both elites are manageable with the starting Harros Shell, but the Blademaster requires you to learn parry timing early. The second dungeon, Sunken Crypt, introduces the Acolyte archetype, and its teleport ability can catch new players off guard when they are already low on healing items. Community reports suggest saving your Resolve abilities for the Acolyte fight, because the Warden elite that appears later in the dungeon has a much larger health pool.
| Dungeon | Elites Encountered | Recommended Level | Key Loot |
|---|---|---|---|
| Cathedral of Ash | Brute, Blademaster | Shell Level 2 | Martyr's Blade, Tarstone x3 |
| Sunken Crypt | Acolyte, Warden | Shell Level 3 | Cinder Hammer, Tarstone x5 |
| Hollow Depths | Blademaster x2, Brute | Shell Level 4 | Unbroken Promise ability |
| Forgotten Vault | Warden, Acolyte, Brute | Shell Level 5 | Moment of Clarity ability |
The boss order within each dungeon also matters, because the final boss of each area uses mechanics borrowed from the elites you fought earlier. The Cathedral of Ash boss, The Ash Warden, combines the Brute's overhead slams with the Warden's shield bash, so mastering both elite fights beforehand gives you a significant advantage. This design philosophy means that treating elites as practice for the main boss fights is the most efficient way to improve, rather than rushing past them to save time.
Farming Routes for Elite Enemies
Once you understand the elite spawn patterns, you can create efficient farming routes for upgrade materials. The Hollow Depths dungeon offers the best early farming route because it has two Blademaster elites in close proximity, and both drop weapon upgrade materials at a high rate. According to player reports, a full clear of the Hollow Depths elite route takes about 15 minutes and yields an average of 8-10 Tarstones, which is enough for two weapon upgrades. The Forgotten Vault offers better rewards but requires a higher Shell level, so it is better suited for mid-game farming.
-
Hollow Depths Route: Enter from the east gate, clear the first Blademaster, take the shortcut ladder, defeat the second Blademaster, exit and reset
-
Sunken Crypt Route: Start at the bonfire, defeat the Acolyte, loop through the flooded corridor, defeat the Warden, reset via the lever
-
Forgotten Vault Route: Requires the Cinder Key, clear all three elites in sequence, use the elevator shortcut to reset quickly
These farming routes become even more valuable when you are attempting a Mortal Shell II boss no damage run, because you need upgraded weapons to shorten the fight duration and reduce the number of attack patterns you must survive. The strongest shell guide ranks the best Shells for sustained farming, and it highlights Tiel as the top choice for elite farming due to his mobility and dodge capabilities.
Advanced Tactics for No Damage and No Hit Runs
For players attempting a Mortal Shell II boss no damage or no hit run, elite enemies present a unique challenge because they are often more unpredictable than the main bosses. The key difference is that elites have shorter attack windups and fewer tells, which makes them harder to read on your first encounter. However, their lower health pools mean that a single well-executed posture break often ends the fight, so the strategy shifts from sustained survival to creating one clean opening.
The parry-focused approach is the most reliable for no hit runs, because a successful parry not only negates damage but also builds significant posture. You need to learn the exact parry timing for each elite archetype, and the Blademaster's final combo hit is the easiest to parry because it has a distinctive flash before impact. The dodge-focused approach works better for Brute elites, because their slow swings are easy to i-frame through, and Tiel's extended dodge window gives you more forgiveness on timing.
| Technique | Difficulty | Risk Level | Reward |
|---|---|---|---|
| Parry + Riposte | Hard | High if mistimed | Instant posture break, health restore |
| Dodge + Punish | Medium | Low | Safe damage, slower kills |
| Hardening Trade | Easy | Medium | Reliable damage, requires health investment |
| Sidearm Stagger | Easy | Low | Safe posture damage, limited ammo |
The sidearm system offers a safe way to build posture damage from range, and the official Steam page confirms that powerful sidearms are a core part of the combat loop. The Repeater sidearm fires three quick shots that each deal posture damage, and it can stagger an Acolyte out of its teleport animation. The Hand Cannon deals massive single-shot posture damage but has a long reload time, making it better for opening a fight or finishing a staggered elite.
Practice Routines for Elite Enemies
Improving against Mortal Shell II elite enemies requires deliberate practice, and the best way to train is to reset a dungeon until you reach the elite, then fight it without using healing items. This forces you to learn the dodge and parry timings rather than relying on trading damage. Community reports suggest that 10-15 practice attempts per elite archetype is enough to internalize the patterns, and after that, you can consistently defeat them without taking damage.
-
Phase 1: Fight the elite with full healing items, focus on learning attack tells
-
Phase 2: Fight with no healing, allow yourself to die and reset
-
Phase 3: Fight with no healing and no weapon abilities, pure parry and dodge
-
Phase 4: Attempt the full dungeon run with the elite as the only obstacle
The boss guide for Mortal Shell II covers the main boss fights in detail, and it notes that the skills you develop against elites transfer directly to boss encounters. If you can consistently defeat the Blademaster elite without taking damage, the second dungeon boss becomes significantly easier because it uses similar combo patterns. This makes elite practice one of the highest-return activities for improving your overall combat skill.
According to Mortal Shell II's official game guide, elite enemies in this sequel are defined by a 40% increase in health, a 25% boost to attack damage, and a new parry-window mechanic that is 0.2 seconds shorter than standard foes.
Frequently Asked Questions
What is the best shell for boss fights against elite enemies?
The Harros Shell is the best choice for most players because its Hardening ability lets you attack safely through enemy swings, which is especially effective against Brute elites. Tiel is better for advanced players attempting no hit runs, since his extended dodge window provides more forgiveness on timing.
How do I break elite enemy posture quickly?
Use heavy attacks and weapon abilities that deal bonus posture damage, and prioritize parrying the final hit of combo chains. The Solomon Shell generates Resolve faster, allowing you to use posture-breaking abilities more frequently. Sidearm shots also build posture safely from range, especially against Acolyte elites.
Can I skip elite enemies in Mortal Shell II?
No, you need to defeat elites to collect Dungeon Key fragments that unlock the boss door. However, you can choose the order you fight them, and some shortcuts let you bypass optional elites after you have cleared them once. The dungeon order guide explains which elites are mandatory.
What rewards do elite enemies drop?
Elite enemies in Mortal Shell II drop Tarstones for weapon upgrades, plus rare abilities such as Unbroken Promise or Moment of Clarity. Breaking their posture restores a chunk of health, turning tough fights into strategic healing windows—essential for surviving deep, extended dungeon expeditions.
Are elite enemies harder than dungeon bosses?
No—elite enemies hit harder and telegraph less, but they lack the health and layered combos of dungeon bosses. Their short windups make them unpredictable, yet each boss reuses elite mechanics, so mastering them is your best prep for Mortal Shell II’s real tests.