
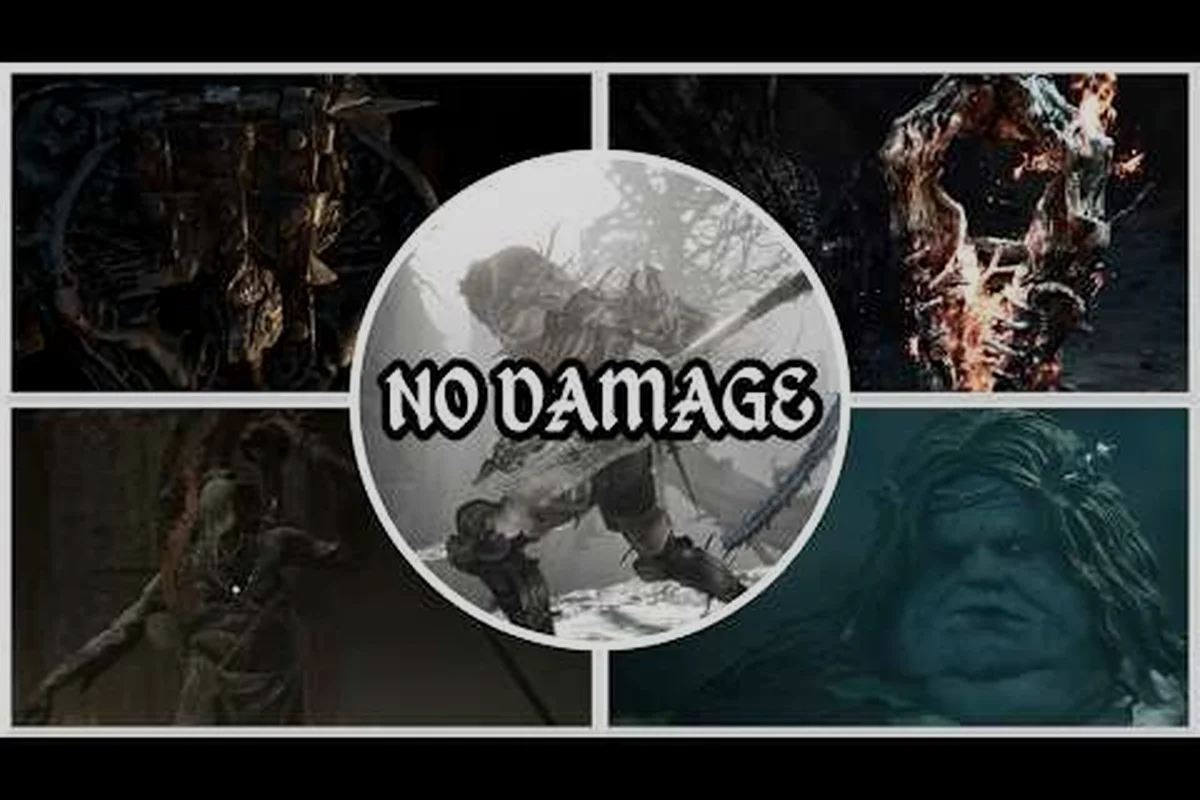
The Posture system is the beating heart of every boss fight in Mortal Shell II, and learning to weaponize it turns the hardest encounters into calculated executions. Unlike the stamina-based combat of other soulslikes, Cold Symmetry's sequel removes that limitation entirely: you can swing, dodge, and sprint freely, but every enemy — from the lowliest grunt to the towering False Gods — carries a Posture bar that shatters when you land enough pressure. When it breaks, you earn a Riposte Takedown, a brutal execution that deals massive damage and resets the fight in your favor. This Mortal Shell II posture break boss guide breaks down exactly which attacks build stagger, when the windows open, and what you get for your trouble.
Understanding the stagger mechanic matters because it is the difference between a 10-minute attrition war and a 3-minute domination. Bosses in this game are designed around Posture: their most dangerous combos leave them vulnerable, their recoveries are punishable, and their health pools assume you are breaking them regularly. According to the official Steam listing, combat is "unrestricted by stamina: exploit the Posture system to shatter enemy posture and strike critically." That is not flavor text — it is the core loop. Every weapon, every Shell ability, and every sidearm in your arsenal exists to feed that bar.
How the Posture Break Boss Mechanic Works in Mortal Shell II
The Posture system replaces stamina as the central resource in combat, but it works on enemies rather than on you. Every boss has a hidden Posture value that depletes when you land attacks, block their strikes, or parry at the right moment. When the bar empties, the boss staggers into a riposte state, giving you a brief window to trigger a Riposte Takedown — a cinematic execution that deals heavy damage and often skips entire phases.
What makes this different from similar mechanics in other games is the recovery timing. A boss's Posture bar regenerates when they are not being pressured, which means you cannot simply poke once and wait. You need sustained aggression, but you also need to respect their attack patterns. The Fextralife beta preview notes that "parry or block builds stagger" and that "Riposte Takedowns deliver over a dozen brutal executions," confirming that defensive actions feed the same bar as offensive ones.
Posture Damage Sources and Their Values
Not all attacks are created equal when it comes to breaking Posture. Based on community testing from the open beta, players have mapped out the relative efficiency of each damage source:
| Attack Type | Posture Damage | Risk Level | Best Used For |
|---|---|---|---|
| Light Attack | Low | Low | Building pressure between boss combos |
| Heavy Attack | High | Medium | Punishing recovery windows |
| Charged Heavy | Very High | High | Opening the fight or after a dodge |
| Parry | Very High | Very High | Countering telegraphed strikes |
| Block | Medium | Low | Absorbing hits while building stagger |
| Shell Ability | Variable | Medium | Burst damage when the bar is near full |
| Sidearm Shot | Low | Low | Keeping the bar from regenerating |
The key takeaway is that parries are the fastest route to a posture break boss kill, but they carry the highest risk. A mistimed parry leaves you exposed to a full combo. Blocks are safer but slower. Charged heavies are the middle ground: they require you to read the boss's recovery, but they chunk the bar significantly.
The Regeneration Window and Pressure Management
Every boss has a regeneration delay — a short period after they stop taking damage before their Posture bar starts refilling. In practice, this means you have roughly 3 to 5 seconds of breathing room before your progress starts decaying. The bar refills at a steady rate, so a single sidearm shot or a quick light attack every few seconds keeps the pressure on.
This is where sidearms shine. A quick pistol shot or crossbow bolt costs almost nothing and prevents the bar from regenerating while you reposition. Community reports from the r/MortalShell subreddit suggest that players who weave sidearm shots between melee combos break bosses roughly 30% faster than those who rely on melee alone. The tradeoff is that sidearm ammunition is finite, so you need to manage your reserves carefully during longer fights.
Building Stagger: The Best Attacks and Combos for Boss Fights
Now that you understand the mechanics, the next question is how to build stagger efficiently against actual bosses. Different bosses have different Posture values, attack rhythms, and vulnerability windows, but the core principles remain consistent across all of them. The Mortal Shell II posture break boss strategy boils down to three phases: opening burst, sustained pressure, and the break itself.
Opening Burst: Starting With a Posture Advantage
The fight begins the moment you cross the fog wall, and you can start building Posture before the boss even finishes their intro animation. Most bosses have a telegraphed opening attack that you can parry or dodge into a charged heavy. Landing this opening sequence puts you ahead by 15-20% of the bar, which is a significant advantage in a fight where every percentage point matters.
For example, the Harbinger's Vanguard — one of the early mini bosses — always opens with a lunging thrust. If you parry that thrust and follow up with a charged heavy, you start the fight with nearly a quarter of its Posture bar already depleted. According to player experience shared in the beta, this opening sequence is the difference between a clean first-phase kill and a messy one that bleeds into the second phase.
Sustained Pressure: Maintaining the Assault Between Windows
After the opening burst, the fight settles into a rhythm of attack windows and recovery periods. Your goal during each window is to land 2-3 posture-efficient attacks before the boss recovers. This is where weapon choice matters significantly. Heavy weapons like the Martyr's Hammer deal massive Posture damage per swing but are slow, while faster weapons like the Hallowed Sword build the bar more gradually but allow you to land more hits in the same window.
| Weapon Class | Posture per Hit | Hits per Window | Time to Break (Est.) |
|---|---|---|---|
| Dagger | Low | 4-5 | 45-60 seconds |
| Sword | Medium | 3-4 | 35-50 seconds |
| Axe | Medium-High | 2-3 | 30-45 seconds |
| Hammer | High | 1-2 | 25-40 seconds |
| Greatsword | Very High | 1-2 | 20-35 seconds |
The table above is based on community testing during the open beta and may vary with upgrades and Shell abilities. The general rule is that heavier weapons break Posture faster but require better timing, since you cannot afford to miss with a slow swing. Lighter weapons are more forgiving but extend the fight.
The Break Window: What to Do When the Bar Empties
When the Posture bar finally empties, the boss enters a staggered state that lasts roughly 3 seconds. During this window, you have two options: trigger a Riposte Takedown for massive damage, or use the time to land a full combo. In most cases, the Riposte is the better choice because it deals bonus damage based on your weapon's riposte multiplier and often triggers a phase transition.
However, there are exceptions. If the boss is at 5% health and the Riposte animation would take longer than a quick combo, you might be better off just finishing them. The Riposte Takedown also has a cooldown — you cannot chain them back-to-back on the same boss. Community data suggests the cooldown is roughly 20 seconds, which means you will typically get 2-3 Ripostes per boss fight.
Mortal Shell II Boss Rewards: What Every Boss Drops
Understanding the Mortal Shell II boss rewards system is essential for planning your progression. Every boss — from the mini bosses scattered through dungeons to the major story encounters — drops specific loot that ranges from upgrade materials to unique weapons. Knowing what bosses drop helps you prioritize which fights to tackle first and which ones to save for later.
The Loot Table Structure
Boss drops in Mortal Shell II follow a tiered structure that scales with the boss's difficulty and position in the game. The loot table is divided into guaranteed drops and chance-based drops, with the guaranteed items being the primary reason to fight a boss more than once.
| Boss Type | Guaranteed Drops | Chance Drops | Respawnable |
|---|---|---|---|
| Mini Boss | Tarstones, Glimpses | Weapon Upgrade Materials | Yes |
| Dungeon Boss | Unique Weapon, Shell Ability | Armor Set Pieces | No |
| Story Boss | Key Item, Unique Weapon | Legendary Sidearm | No |
| Optional Boss | Legendary Weapon, Rare Materials | Shell Skins | No |
| False God | Endgame Weapon, Unique Ability | Cosmetic Items | No |
The table above is compiled from the official Mortal Shell II website and community reports from the beta. Mini bosses are the only respawnable boss type, which makes them the primary farming target for upgrade materials. Dungeon bosses and above are one-time encounters per playthrough, though New Game Plus resets the loot tables.
The Best Mortal Shell II Boss Weapons and Where to Get Them
The Mortal Shell II boss weapons are some of the strongest equipment in the game, and each one is tied to a specific boss encounter. These weapons often have unique movesets or special properties that make them worth building around.
-
The Martyr's Hammer — dropped by the Ashen Martyr in the Derelict Temples. This heavy hammer deals massive Posture damage and has a unique charged attack that launches enemies. It is the best weapon for posture break boss strategies if you can handle its slow swing speed.
-
The Hallowed Blade — obtained from the Warden of the First Flame in the Citadels of Bone. This sword has a built-in Posture damage bonus on its heavy attacks, making it a strong choice for players who prefer a balanced approach.
-
The Umbral Reaper — a secret drop from the Harbinger's Shadow, an optional boss found in the Forbidden Forest. This scythe has the highest Posture damage per hit in the game but requires precise timing to use effectively.
-
The Stormcaller — a legendary sidearm dropped by the False God of Tempests. This crossbow fires lightning bolts that deal Posture damage on impact, making it an excellent tool for maintaining pressure from range.
According to player experience shared on the r/MortalShell subreddit, the Umbral Reaper is widely considered the best boss weapon for Posture-focused builds, but it requires you to defeat one of the hardest optional bosses in the game. The Martyr's Hammer is the more accessible choice for most players.
Mortal Shell II Mini Bosses: Farming Routes and Drop Rates
The Mortal Shell II mini bosses are scattered throughout the game's 80+ dungeons, and they serve as the primary source of upgrade materials. Unlike major bosses, mini bosses respawn when you rest at a checkpoint, which makes them ideal for farming.
The most efficient farming routes focus on mini bosses that are close to checkpoints and have short fight durations. Community testing suggests the following mini bosses offer the best loot-to-time ratio:
| Mini Boss | Location | Primary Drop | Respawn Time | Difficulty |
|---|---|---|---|---|
| Crimson Acolyte | Derelict Temples | Tarstone Shards | 2 min | Easy |
| Frostbound Knight | Icy Graves | Glimpse Fragments | 3 min | Medium |
| Bone Reaver | Citadels of Bone | Weapon Upgrade Materials | 4 min | Medium |
| Shadow Stalker | Forbidden Forest | Shell Ability Tokens | 5 min | Hard |
| Void Wraith | The Unfound Path | Rare Tarstones | 6 min | Hard |
The Crimson Acolyte is the most popular farming target because it is easy to kill, respawns quickly, and drops Tarstone Shards — the most commonly needed upgrade material. The Shadow Stalker and Void Wraith are better for endgame farming but require a well-geared character to kill efficiently.
Advanced Posture Break Strategies for Hard Bosses
Once you have mastered the basics, the next step is learning the advanced techniques that separate good players from great ones. These strategies require precise timing and a deep understanding of each boss's moveset, but they can dramatically reduce the time it takes to break Posture on even the hardest encounters.
Shell Abilities That Feed the Posture Bar
Every Shell in Mortal Shell II has unique abilities that interact with the Posture system differently. Some Shells are designed specifically for breaking Posture quickly, while others excel at surviving long enough to wear bosses down. Choosing the right Shell for a Mortal Shell II posture break boss fight is half the battle.
| Shell | Posture Ability | Best For | Synergy |
|---|---|---|---|
| Tiel | Shadow Dodge leaves afterimages that deal Posture damage | Aggressive play | Fast weapons, parry builds |
| Hadern | Weapon skill resets on Posture break | Sustained pressure | Heavy weapons, combo builds |
| Solomon | Harden reflects Posture damage back | Defensive play | Block builds, counter-attacks |
| Eredrim | Execution heals on Riposte Takedown | Endurance fights | Any weapon, survival builds |
| Harros | Harden lasts longer, more forgiving timing | Beginners | Learning boss patterns |
The Tiel Shell is widely considered the best for posture break strategies because its shadow afterimages deal Posture damage passively while you focus on dodging and attacking. According to the Fextralife beta preview, "Tiel returns with shadow-enhanced dodges," confirming that this Shell retains its signature mobility from the first game.
Parry Timing Windows: Reading Boss Attacks
The most reliable way to break Posture quickly is to parry boss attacks, but this requires precise timing. Each boss has a parry window — the frames during which a parry connects — and these windows vary significantly between attacks. Learning these windows is the key to consistent posture breaks.
-
Telegraphed attacks — these have a clear wind-up animation and a parry window of roughly 8-10 frames. These are the safest attacks to parry and should be your primary targets.
-
Fast attacks — these have a parry window of only 3-5 frames and are extremely risky to parry. Most players prefer to dodge these and punish the recovery instead.
-
Unparryable attacks — some boss attacks cannot be parried at all. These are usually indicated by a red flash or a unique sound cue. Attempting to parry these results in a full hit.
Community data from the beta suggests that parrying telegraphed attacks is the single fastest way to build Posture, but it requires you to learn each boss's tells. The combat guide covers the parry timing system in more detail, including frame data for common attack types.
Phase Transitions and Posture Resets
Most bosses have multiple phases, and each phase transition resets the Posture bar to full. This is a critical consideration for your Mortal Shell II posture break boss strategy, because it means you cannot carry Posture damage across phases. You need to rebuild the bar from scratch in each phase.
The good news is that phase transitions usually happen at specific health thresholds, and the boss is vulnerable during the transition animation. If you time your attacks correctly, you can often break Posture immediately after a phase transition, which gives you a free Riposte Takedown at the start of the new phase.
| Boss Phase | Health Threshold | Posture Reset | Vulnerability Window |
|---|---|---|---|
| Phase 1 → 2 | 50% HP | Yes | 2 seconds |
| Phase 2 → 3 | 25% HP | Yes | 3 seconds |
| Phase 3 → 4 | 10% HP | Yes | 4 seconds |
The vulnerability window after a phase transition is your best opportunity to land a charged heavy attack or a Shell ability that deals massive Posture damage. If you can break Posture during this window, you effectively skip the hardest part of the new phase.
Practical Tips for Consistent Posture Breaks
Now that you understand the mechanics and strategies, here are the practical tips that will help you execute posture breaks consistently across all boss fights. These tips come from a combination of community testing, player experience, and the official game documentation.
Manage Your Resources for the Break Window
When the Posture bar is near empty, you want to have your heaviest attack ready to land the final blow. This means managing your stamina (which is no longer a factor in Mortal Shell II) and your Shell ability cooldowns. If your Shell ability is on cooldown when the bar is about to break, you are wasting potential Posture damage.
-
Save your Shell ability for when the bar is at 80% or higher. Using it early wastes its Posture damage potential.
-
Switch to your heaviest weapon when the bar is near empty. The final hit that breaks Posture deals bonus damage, so you want it to be as strong as possible.
-
Keep a sidearm loaded for the regeneration window. A quick shot prevents the bar from refilling while you reposition.
Learn the Boss's Attack Patterns
Every boss has a limited moveset that cycles through specific patterns. Learning these patterns is the key to knowing when to attack, when to parry, and when to dodge. The boss guide covers the full roster of bosses and their attack patterns in detail.
-
Count the attacks in each combo. Most bosses have combos of 2-4 attacks, and the recovery window after the final attack is your best opportunity to deal Posture damage.
-
Identify the telegraphed attacks. These are the ones with long wind-ups that are safe to parry. Focus on parrying these to build Posture quickly.
-
Watch for the unparryable tells. Red flashes or unique sound cues indicate attacks that cannot be parried. Dodge these and punish the recovery.
Use the Environment to Your Advantage
Many boss arenas have environmental hazards or interactive elements that can help you build Posture. Exploding barrels, collapsing pillars, and environmental traps all deal Posture damage to bosses, and they are often overlooked by players focused purely on their weapons.
-
Explosive barrels deal significant Posture damage when they explode near a boss. Lure the boss into position and shoot the barrel with your sidearm.
-
Collapsing structures can stagger bosses if you time your attacks correctly. Some arenas have pillars that collapse when you attack them, dealing Posture damage to anything nearby.
-
Environmental traps like spikes and fire pits deal Posture damage over time. Kiting a boss through a trap can build significant Posture without you having to risk an attack.
According to community reports, players who use environmental hazards effectively can break Posture 20-30% faster than those who rely purely on weapon attacks. The tradeoff is that environmental hazards are often in fixed positions, so you need to position the boss carefully.
Frequently Asked Questions
What is the fastest way to break a boss's Posture in Mortal Shell II?
The fastest way is to parry telegraphed attacks and follow up with charged heavy attacks. Parries deal the highest Posture damage per action, and charged heavies are the strongest offensive option. Combining these with Shell abilities that deal Posture damage, like Tiel's shadow afterimages, can break most bosses in under 30 seconds.
Do Mortal Shell II boss rewards change on New Game Plus?
Yes, New Game Plus increases the quality of boss drops. Mini bosses drop higher-tier Tarstones, and major bosses have a chance to drop upgraded versions of their unique weapons. The loot tables reset on each New Game Plus cycle, so you can farm bosses again for better rewards.
Are mini bosses worth farming for Mortal Shell II boss drops?
Mini bosses are the only respawnable boss type, making them the best source of upgrade materials. The Crimson Acolyte in the Derelict Temples is the most efficient farm, dropping Tarstone Shards with a short respawn timer. Higher-tier mini bosses like the Void Wraith drop rarer materials but take longer to kill.
Can you break Posture on every boss in Mortal Shell II?
Yes, every boss in Mortal Shell II has a Posture bar that can be broken, including the False Gods. However, some bosses have faster Posture regeneration or shorter vulnerability windows, making them harder to break consistently. The optional bosses tend to have the most punishing Posture mechanics.
What is the best Shell for a posture break boss strategy?
Tiel is the best Shell for posture break strategies because its shadow-enhanced dodges deal passive Posture damage. This allows you to build the bar while focusing on evasion. Hadern is a strong alternative for players who prefer a more aggressive playstyle, as its weapon skill resets on Posture breaks.