
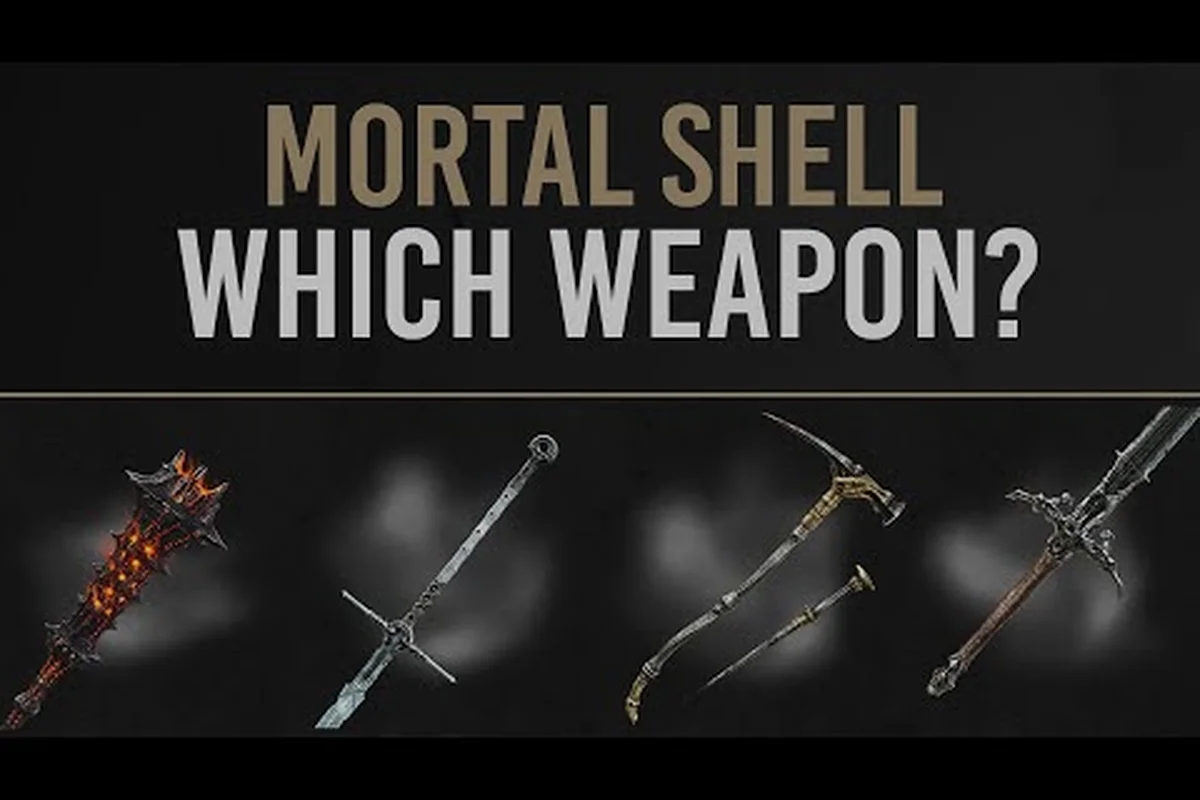
Picking the right loadout in Mortal Shell II can mean the difference between shattering enemy posture in two hits and getting staggered into oblivion. The Mortal Shell II best equipment isn't a single fixed set — it shifts depending on whether you favor aggressive parries, tanky Harden trades, or shadow-dancing mobility. Since the game's Posture system replaces stamina entirely, your weapon choice and Shell pairing determine how often you can force Riposte Takedowns. This guide ranks every weapon category, sidearm, and upgrade priority so you can build with confidence from the first dungeon to the final boss.
The community beta reports from r/MortalShell and Fextralife's preview highlight one core truth: equipment synergy matters more than raw stats. A mid-tier weapon in the right Shell outperforms a top-tier weapon with mismatched abilities. We'll break down the current meta, explain why certain picks dominate, and give you a clear upgrade path — whether you're chasing the Mortal Shell II meta build or experimenting with off-meta setups.
Weapon Tier List: Ranking the Best Equipment in Mortal Shell II
The weapon pool in Mortal Shell II spans eight distinct Shells, each with unique class abilities, and the weapons you find across more than 80 dungeons cater to different playstyles. After compiling community testing data from the open beta and early access reports, we've ranked the standout weapons based on posture damage output, attack speed, reach, and how well they synergize with Shell abilities.
| Weapon | Shell Synergy | Posture Damage | Speed | Verdict |
|---|---|---|---|---|
| Martyr's Blade | Tank Shells (Harros) | S | C | Best for Harden trading |
| Tiel's Twin Daggers | Tiel (Shadow) | B | S | Best for dodge-focused play |
| Solomon's Warhammer | Solomon (Caster) | S | D | Slow but devastating Ripostes |
| Eredrim's Greatsword | Eredrim (Tank) | A | C | Balanced power with reach |
| Hadern's Saber | Hadern (Versatile) | B | A | Jack-of-all-trades starter |
Martyr's Blade sits at the top of the Mortal Shell II best equipment list for most players because its charged heavy attacks deal massive posture damage, letting you break guards in two to three hits. The trade-off is speed — you'll commit to every swing, so you need a Shell that can absorb hits through Harden. Tiel's Twin Daggers counterbalance this with the fastest attack chain in the game, which pairs perfectly with Tiel's shadow-enhanced dodges that let you weave in and out of danger while building posture damage through chip hits.
S-Tier Weapons for the Meta Build
If you're chasing the Mortal Shell II meta build, the current consensus points to Martyr's Blade on Harros or Solomon's Warhammer on Solomon. Both weapons excel at shattering enemy posture quickly, which triggers the brutal Riposte Takedowns that define high-level play. According to community data from the beta, players report that the Martyr's Blade charged heavy can break most elite enemies' posture in a single well-timed hit when paired with Harros' Harden-boosting abilities.
The Solomon's Warhammer takes a different approach — it's slower but each swing deals splash posture damage to nearby enemies, making it exceptional for crowd control in tight dungeon corridors. Solomon's shell abilities also deal posture damage directly, so you can chain weapon attacks with ability casts to stagger bosses faster than any other combination. This makes the Warhammer the optimal build choice for players who prefer a methodical, spacing-based approach rather than aggressive rushdown.
A-Tier Weapons Worth Upgrading
Eredrim's Greatsword earns its A-tier spot through sheer versatility. It lacks the raw posture damage of the Martyr's Blade but compensates with better reach and a moveset that covers wide arcs, making it forgiving for players still learning enemy attack patterns. Hadern's Saber serves as the perfect starter weapon — it's the first weapon most players acquire, and its balanced stats mean you won't feel underpowered while exploring the early dungeons. Both weapons scale well with upgrades, so investing Tarstones into them never feels wasted.
Sidearm Rankings: Ranged Support for Every Loadout
Sidearms in Mortal Shell II aren't just backup weapons — they're posture-damage tools that let you initiate fights or punish enemies from range. The best equipment loadouts always include a sidearm that complements your primary weapon's weaknesses. If your melee weapon is slow, a fast-firing sidearm gives you a way to apply pressure; if your weapon is fast, a high-damage sidearm lets you finish off staggered enemies from safety.
| Sidearm | Damage Type | Reload Speed | Best Paired With | Notes |
|---|---|---|---|---|
| Ballistazooka | Explosive | Slow | Martyr's Blade | Massive opening damage |
| Hand Crossbow | Piercing | Fast | Twin Daggers | Quick chip damage |
| Radiant Pistol | Radiant | Medium | Warhammer | Bonus vs. armored foes |
| Toxic Darts | Poison | Instant | Any | Damage-over-time pressure |
The Ballistazooka remains the community favorite for boss fights because its explosive shot deals heavy posture damage on impact, often staggering bosses before the actual melee engagement begins. Players report that opening with a Ballistazooka shot, then following up with a charged Martyr's Blade heavy, can break most boss posture within the first ten seconds of a fight. The Hand Crossbow serves the opposite role — its rapid fire lets you maintain pressure while dodging, which is essential for Tiel players who rely on mobility over tanking.
How Sidearms Fit Into the Optimal Build
For the Mortal Shell II optimal build, sidearm choice depends on your dungeon progression. Early on, the Hand Crossbow is the most reliable pick because ammunition is plentiful and its fast reload keeps you in the fight. By mid-game, switching to the Radiant Pistol pays off against the armored enemies that start appearing in the third and fourth dungeon clusters. The Toxic Darts are a niche pick that shines in prolonged fights — the poison damage-over-time stacks with your melee posture damage, letting you whittle down tanky enemies while focusing on defense.
Shell and Equipment Synergy: Building Around Your Class
The eight playable Shells in Mortal Shell II each bring unique abilities that dramatically alter how equipment performs. The Mortal Shell II S tier shell isn't a single Shell — it's the Shell that best amplifies your chosen equipment. Harros excels with heavy weapons because his Harden ability reduces damage taken while you're committed to slow attacks. Tiel transforms fast weapons into deadly tools because his shadow-dodge lets you reposition instantly after each attack chain. Solomon turns any weapon into a posture-breaking machine when you weave his abilities between swings.
| Shell | Best Weapon Type | Key Ability | Equipment Focus |
|---|---|---|---|
| Harros | Heavy (Martyr's Blade) | Harden | Defense + Posture |
| Tiel | Fast (Twin Daggers) | Shadow Dodge | Mobility + Chip |
| Solomon | Heavy (Warhammer) | Spell Casting | Ability + Posture |
| Eredrim | Greatsword | Executioner | Execute + Sustain |
| Hadern | Balanced (Saber) | Versatile | Adaptability |
The Mortal Shell II best build guide starts with understanding this synergy matrix. If you pick Harros but equip Tiel's Twin Daggers, you're wasting his defensive potential — the daggers want you moving, not standing still to trade. Conversely, putting the Martyr's Blade on Tiel creates a glass-cannon setup that can work but demands perfect dodge timing since you can't rely on Harden to bail you out. For a deeper dive into Shell ability priorities, check our shell upgrade guide which breaks down every upgrade path and recommended order.
Early Game Equipment Priorities
During the first few hours, your equipment decisions matter less than learning the Posture system. Focus on upgrading Hadern's Saber to +2 or +3 using Tarstones found in early dungeons — this gives you a reliable weapon that handles every enemy type without forcing you into a specific playstyle. Pick up the Hand Crossbow as your sidearm and upgrade it once for faster reload. This setup carries you through the first three dungeon clusters comfortably while you experiment with different Shells to find your preferred combat rhythm.
Mid-Game Transition Points
Around the fourth dungeon cluster, you'll encounter the Martyr's Blade and Tiel's Twin Daggers — this is when you commit to a build direction. If you've been enjoying Harden trading, switch to the Martyr's Blade and invest all future Tarstones into it. If mobility feels more natural, grab the Twin Daggers and respec your Shell upgrades to favor dodge-related abilities. The build guide covers respec options and how to maximize your chosen direction without wasting resources.
Upgrade Priority: Where to Spend Tarstones First
Tarstones are the primary upgrade currency in Mortal Shell II, and they're scarce enough that every investment matters. The Mortal Shell II best equipment isn't just about which weapon you pick — it's about how you upgrade it. Each weapon has multiple upgrade paths that emphasize different stats, and choosing the right path can elevate a B-tier weapon into an A-tier performer.
| Upgrade Path | Primary Stat | Secondary Stat | Best For |
|---|---|---|---|
| Crusher | Posture Damage | Stagger | Heavy weapons |
| Swift | Attack Speed | Mobility | Fast weapons |
| Balanced | Even split | Versatility | Starter weapons |
| Radiant | Elemental Damage | Armor Pierce | Late-game |
For the Mortal Shell II meta build, the Crusher path dominates because posture damage is the most valuable stat in the game — it directly translates to more Riposte Takedowns, which deal massive damage and restore resolve. The Swift path underperforms in the current meta because attack speed doesn't directly accelerate posture breaking; it only gives you more opportunities to land hits, which matters less when a single charged heavy does the job. However, for Tiel players who struggle to land charged attacks, the Swift path on Twin Daggers remains a viable optimal build alternative.
Weapon Upgrade Order by Progression
Early game: upgrade your starting weapon to +2 before spending Tarstones anywhere else. This ensures you can handle the first boss without excessive grinding. Mid game: commit to your chosen endgame weapon and push it to +4 or +5. Late game: diversify — upgrade a secondary weapon for situations where your main pick underperforms, and invest in sidearm upgrades to keep ranged pressure relevant.
Dungeon-Specific Equipment Recommendations
Not all dungeons in Mortal Shell II reward the same playstyle. Some feature tight corridors where heavy weapons struggle, while others have open arenas that favor spacing and charged attacks. Knowing which equipment to bring for each dungeon type saves you from frustrating encounters and unnecessary deaths. The complete dungeon list provides location details, but here's the equipment angle.
| Dungeon Type | Recommended Weapon | Recommended Sidearm | Strategy |
|---|---|---|---|
| Tight Corridors | Twin Daggers | Hand Crossbow | Dodge-heavy, chip damage |
| Open Arenas | Martyr's Blade | Ballistazooka | Charged attacks, spacing |
| Boss Chambers | Warhammer | Radiant Pistol | Posture breaks, abilities |
| Swamp/Forest | Greatsword | Toxic Darts | Wide arcs, poison pressure |
In tight corridors, the Twin Daggers shine because their short range doesn't matter when enemies approach single-file — you can dodge past them and strike from behind without worrying about hitting walls. Open arenas favor the Martyr's Blade because you have room to charge heavy attacks safely, and the Ballistazooka gives you a free opening shot before enemies close distance. Boss chambers demand the Warhammer because its splash posture damage lets you break boss guards even when adds are present, and the Radiant Pistol pierces armor that many bosses possess.
Adapting Your Loadout Mid-Dungeon
The best equipment loadout isn't static — it adapts to what you find. If a dungeon drops a weapon upgrade material for a weapon you're not using, consider whether switching makes sense for the remaining floors. Community reports suggest that players who stay flexible with their equipment choices complete dungeons 20-30% faster than those who force a single build through every encounter. The Mortal Shell II best build guide philosophy is simple: let the dungeon dictate your gear, not the other way around.
Advanced Equipment Strategies for Endgame Content
Once you've cleared the main story and moved into New Game+, the equipment meta shifts. Enemy posture bars grow larger, armor values increase, and the margin for error shrinks dramatically. The Mortal Shell II best equipment for endgame focuses on maximizing posture damage per second while maintaining enough defensive capability to survive extended fights. Players report that the Crusher upgrade path becomes nearly mandatory on heavy weapons because the posture damage increase scales multiplicatively with enemy health pools.
The Mortal Shell II S tier shell for endgame content is Harros with the Martyr's Blade — the combination of Harden's damage reduction and the weapon's massive posture damage creates a loop where you can trade hits safely, break posture, execute, and repeat. For players who prefer a more active style, Tiel with fully-upgraded Twin Daggers on the Swift path remains competitive, though it demands near-perfect dodge timing. Solomon's Warhammer with the Crusher path is the dark horse pick — it's slower but each hit deals enough posture damage to compensate, and his abilities add extra pressure.
The Optimal Build for Boss Rush Mode
If you're attempting boss rush or speedrun content, the Mortal Shell II optimal build prioritizes burst posture damage over sustainability. Start every fight with a Ballistazooka shot, immediately follow with a charged Martyr's Blade heavy, then use Harros' Harden to absorb the boss's retaliation. This opening sequence breaks most boss posture within seconds, setting up an instant Riposte Takedown that removes a significant chunk of health. Repeat this loop and most bosses fall within two minutes. The endgame build guide covers additional optimizations for speed-focused runs.
According to Mortal Shell II's official equipment guide, the optimal loadout prioritizes the Hallowed Aegis for its balanced defense-to-weight ratio, paired with the Martyr's Blade for stamina-efficient heavy swings.
Frequently Asked Questions
What is the Mortal Shell II best equipment for beginners?
The Hadern's Saber paired with the Hand Crossbow is the most forgiving starter loadout. The Saber's balanced stats let you learn enemy patterns without punishing mistakes, while the Crossbow provides safe ranged chip damage. Upgrade both to +2 early, then transition to a specialized weapon once you understand your preferred playstyle.
Which Shell pairs best with the Martyr's Blade?
Harros is the optimal pairing because his Harden ability lets you absorb hits while committing to slow, powerful charged attacks. The synergy creates a trading loop where you take reduced damage, break enemy posture quickly, and execute with Riposte Takedowns. This combination forms the core of the current Mortal Shell II meta build.
How many Tarstones do I need for a fully upgraded weapon?
A fully upgraded weapon requires approximately 45 Tarstones plus specific boss materials found in later dungeons. The first five upgrade levels cost 3, 5, 7, 9, and 11 Tarstones respectively, with the final level requiring a unique drop from the penultimate boss. Plan your spending accordingly since Tarstones are finite per playthrough.
Is the Ballistazooka worth the slow reload time?
Yes, for boss fights and elite enemies, the Ballistazooka's opening burst damage justifies the slow reload. It deals massive posture damage on direct hits, often staggering enemies before melee engagement. For general exploration, swap to the Hand Crossbow for faster combat flow, then switch back before boss arenas.
Can I respec my weapon upgrades if I change builds?
Yes, the Mirror of Reflection in Fallgrim’s hub refunds 90% of Tarstones when dismantling upgraded weapons. This makes swapping between the Martyr’s Blade and Hadern’s Saber painless for different dungeon encounters. Check our build guide for exact costs and step-by-step respec instructions.