
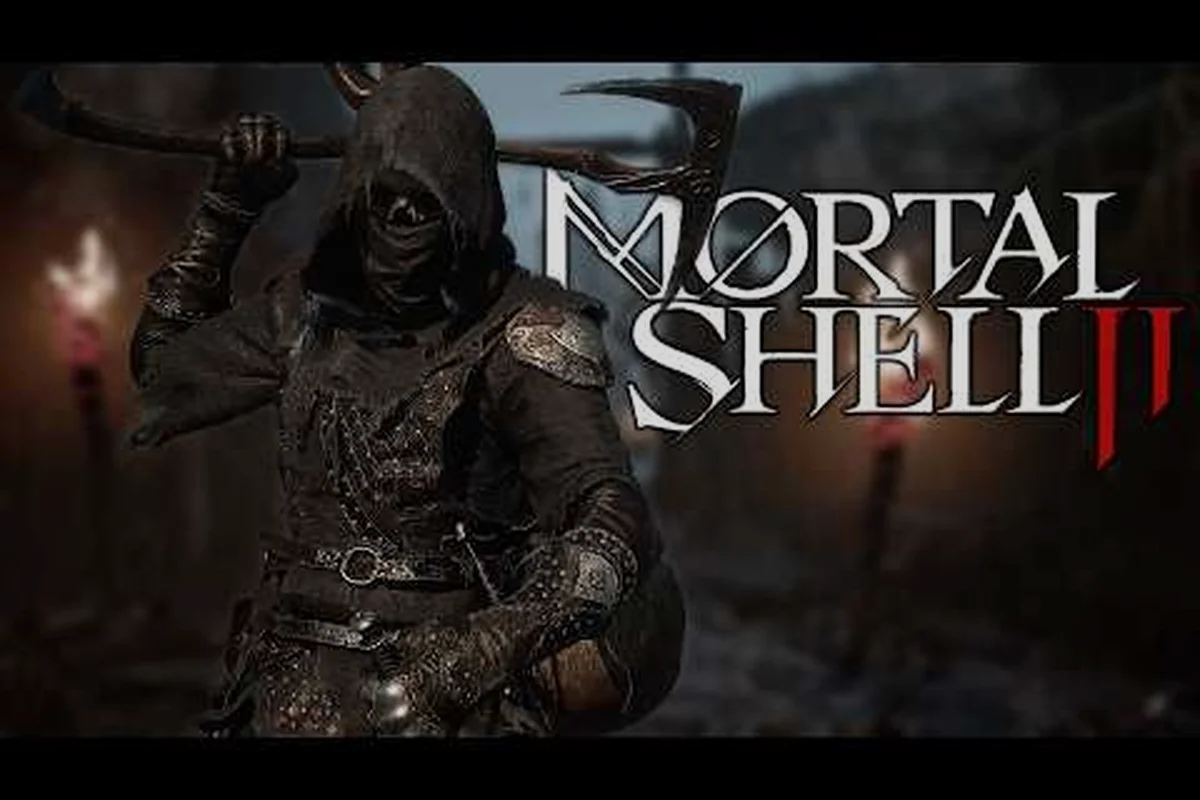
The Posture system in Mortal Shell II replaces the traditional stamina bar, which means your attack strings are no longer limited by how much endurance you saved up. Instead, your combo timing determines how quickly you shatter an enemy's posture and land a critical strike. This Mortal Shell II combo guide breaks down light and heavy chains, charged follow-ups, and the exact windows where you can weave in posture breaks for maximum damage output.
Understanding these Mortal Shell II gameplay mechanics matters because the game's combat depth rewards players who commit to deliberate sequences rather than button mashing. Every swing you throw builds posture damage on the enemy, but reckless chains leave you vulnerable to counterattacks. Get the timing right, and you will control the pace of every fight from the opening exchange to the final execution.
Light Attack Chains and Pressure Building
Light attacks in Mortal Shell II are your primary tool for building pressure without overcommitting. Each Shell handles these strings differently, but the core rhythm stays consistent across the roster. The first light attack comes out fast, the second light attack has a slight delay that can be canceled into a dodge, and the third light attack in the chain deals bonus posture damage.
The key to effective light chains is understanding that you do not always need to complete the full sequence. According to community data from the open beta, players who mixed one or two light attacks with a quick dance step maintained pressure while avoiding trades. This approach works because the Posture system rewards sustained aggression, but enemy attacks still interrupt your strings if you are mid-swing.
| Light Attack Sequence | Posture Damage | Recovery Time | Best Use Case |
|---|---|---|---|
| L1 (single jab) | Low | Very fast | Poke checks, spacing |
| L1 → L2 (double tap) | Moderate | Fast | Punishing whiffs |
| L1 → L2 → L3 (full chain) | High | Slow | Breaking low-tier enemies |
| L1 → L2 → Dodge cancel | Moderate | Minimal | Safe pressure reset |
Light attack strings shine when you are fighting enemies that stagger easily, such as the hollowed thralls scattered through the early dungeons. The full three-hit chain will flatten most basic enemies before they can respond, which makes it an excellent tool for crowd control when you are outnumbered.
However, you need to respect the recovery frames on the third hit. If you whiff the final swing, you are locked into a long animation that elite enemies will punish. The safer pattern is to use the first two hits, then either dodge forward to close distance or dodge backward to reset the exchange. This keeps your posture damage ticking upward while minimizing your exposure.
Weapon-Specific Light Chain Variations
Each weapon class in Mortal Shell II modifies how the light chain behaves. The Hammer and Chisel delivers rapid jabs that build posture quickly but have short range, while the Greatsword swings slower but each hit carries more weight. You need to adapt your combo timing to the weapon's rhythm rather than forcing the same cadence across all loadouts.
For the Hammer and Chisel, the full light chain completes faster than any other weapon, which makes it ideal for applying constant pressure. The trade-off is that each individual hit deals less damage, so you rely on breaking posture frequently to secure kills. For the Greatsword, you want to use only the first two light attacks in most situations because the third swing leaves you exposed for too long against faster enemies.
Heavy Attacks and Charged Follow-Ups
Heavy attacks in Mortal Shell II serve a completely different purpose than light strings. While lights build pressure, heavy attacks deal massive posture damage in a single swing. The trade-off is the wind-up time, which leaves you vulnerable if you mistime the release. Charging a heavy attack extends the wind-up further but adds a stagger effect that interrupts enemy attacks on contact.
The real combat depth emerges when you combine light chains into heavy finishers. A common advanced combat pattern is to open with two light attacks to close distance, then immediately transition into a charged heavy. The enemy is still recovering from the light hits, so they cannot interrupt your wind-up. This sequence is one of the most reliable ways to shatter posture on mid-tier enemies.
| Combo Sequence | Total Posture Damage | Execution Time | Risk Level |
|---|---|---|---|
| L1 → L2 → Heavy | High | Medium | Moderate |
| L1 → Charged Heavy | Very High | Long | High |
| L1 → L2 → L3 → Heavy | Extreme | Very Long | Very High |
| Dodge → Heavy (punish) | High | Short | Low |
Charged follow-ups are the backbone of high-damage rotations. When you fully charge a heavy attack, the swing gains a poise-breaking property that can interrupt even elite enemy attacks. This makes charged heavies invaluable when you are trading blows with a larger foe, because you can cancel their wind-up with your own.
The risk comes from the charge time. If you start charging too early, the enemy will close distance and hit you before the swing releases. If you start too late, you will not have the charge ready when the opening appears. The solution is to watch for telegraphed enemy attacks and begin charging during their recovery frames, so your swing lands as they are vulnerable.
Charged Attack Canceling Techniques
Advanced players use charge canceling to bait enemy reactions. You can start charging a heavy attack, then release the charge button and dodge instead of committing to the swing. This makes the enemy whiff their attack, leaving them open for a punish. The technique requires practice because the game reads your input as a commitment until the very last moment.
According to player reports from the beta, charge canceling is most effective against boss enemies that react to your animations. If you start a charge and cancel it, many bosses will commit to an attack that you can then punish with a full charged heavy. This creates a mind-game layer that separates average players from those who master the system.
Posture Breaks and Riposte Takedowns
When you deplete an enemy's posture bar, they enter a staggered state that opens them up for a Riposte Takedown. These executions deal massive damage and restore a portion of your Resolve, which fuels your Shell abilities. The window for the takedown is generous, but you need to position yourself correctly to trigger the animation.
The Riposte Takedown is the ultimate payoff for well-executed combos. According to the official Steam page, these executions deliver over a dozen brutal animations that vary based on your weapon and the enemy type. Each takedown also grants a brief period of invulnerability, which lets you use them as a defensive reset in chaotic fights.
| Posture Break Source | Posture Damage | Speed | Safety |
|---|---|---|---|
| Full light chain | High | Fast | Moderate |
| Charged heavy | Very High | Slow | Low |
| Parry follow-up | Extreme | Instant | High |
| Shell ability | Variable | Instant | High |
Parry follow-ups are the fastest way to trigger a posture break. When you parry an enemy attack, their posture bar takes a massive hit, and you can immediately follow with a heavy attack to shatter it. This makes parrying the highest-skill, highest-reward mechanic in the game, because you skip the entire process of building posture through regular attacks.
The posture break window also resets your combo chain, which means you can start a fresh light string immediately after the takedown animation ends. This creates a loop where you build posture, execute, then build posture again. Mastering this loop is the core of Mortal Shell II advanced combat, because it lets you maintain constant pressure without ever running out of options.
Shell Abilities That Enhance Combos
Each of the eight playable Shells brings a unique ability that interacts with the combo system. The Fool's Tarstone ability, for example, adds a burst of posture damage to your next attack, which can instantly shatter an enemy that is already close to breaking. Tiel's shadow-enhanced dodge lets you reposition mid-combo without losing your chain momentum.
The Solomon's Hymn ability creates a shockwave that damages and staggers nearby enemies, which makes it an excellent crowd control tool when you are surrounded. Using these abilities at the right moment extends your combo potential far beyond what light and heavy attacks can achieve alone. You can find more details on how these abilities fit into broader strategies in our Mortal Shell II build guide.
Crowd Control and Multi-Enemy Combo Strategies
Fighting multiple enemies requires a different approach than dueling a single foe. The crowd control mechanics in Mortal Shell II let you manage groups through positioning and timing rather than raw damage output. Your light attacks can hit multiple enemies if they are clustered, but the full chain leaves you vulnerable to attacks from off-screen enemies.
The safest crowd control pattern is to use charged heavies to stagger groups, then pick off individual enemies while they recover. A fully charged heavy attack has enough poise damage to interrupt several enemies at once, which creates a brief window where you can focus on the most dangerous target.
| Crowd Control Scenario | Recommended Combo | Why It Works |
|---|---|---|
| 2-3 weak enemies | L1 → L2 → Heavy | Staggers group, kills stragglers |
| 1 elite + adds | Charged Heavy → Riposte | Eliminates elite, adds reset |
| Large mob | Shell ability → Light chain | AoE stagger, then clean up |
| Boss with summons | Dodge → Heavy punish | Safe damage, avoids adds |
Positioning is the most important factor in multi-enemy fights. If you let enemies surround you, even the best combo timing will not save you from taking hits from multiple directions. The solution is to keep enemies in a line in front of you, so your light chains and heavy attacks connect with multiple targets at once.
The dodge mechanics play a critical role in maintaining this positioning. A well-timed dodge through an enemy attack lets you reposition behind the group, which forces them to turn around and gives you a free opening. This is covered in more detail in our Mortal Shell II dodge guide, but the key takeaway is that movement and attacks work together.
Managing Aggro and Threat Priority
When you are fighting a mixed group, you need to decide which enemy to focus first. The highest-threat target is usually the one with the most damaging attacks, not necessarily the one with the most health. An elite enemy with a heavy weapon can end your run in two hits, while a group of weak enemies will chip away at you slowly.
A practical approach is to use a charged heavy to stagger the elite, then switch to light attacks to clear the weaker enemies while the elite recovers. This prevents the adds from interrupting your execution animation when you finally break the elite's posture. The Riposte Takedown animation is not interruptible, but the recovery frames after it leave you vulnerable.
Chaining Rotations That Melt Boss Posture
Boss fights in Mortal Shell II demand a deeper understanding of combo timing because bosses have larger posture bars and faster recovery times. The combat depth in these encounters comes from learning each boss's attack patterns and identifying the exact windows where you can safely commit to longer chains.
A reliable boss rotation starts with one or two light attacks to test the waters, then transitions into a charged heavy when you recognize a long recovery animation. If the boss staggers, you can follow with a full light chain to build additional posture damage before the takedown window appears.
| Boss Phase | Safe Combo | Risky Combo | Reward |
|---|---|---|---|
| Opening | L1 → Dodge | Charged Heavy | Safe chip damage |
| Mid-fight | L1 → L2 → Heavy | Full chain | Posture building |
| Enraged | Dodge → Heavy punish | Any long chain | High damage windows |
| Staggered | Full light chain | Charged heavy | Max posture damage |
Boss enrage phases are where most players make mistakes. When a boss enters an enraged state, their attack speed increases and their recovery windows shrink. The combos that worked earlier in the fight become unsafe, so you need to switch to a more conservative pattern of single light attacks and dodge punishes.
The posture break on bosses works differently than on regular enemies. Bosses recover posture faster, so you need to maintain constant pressure to keep their bar from regenerating. This means you cannot afford long gaps between your attack sequences. The best approach is to stay close, use quick light attacks to keep the bar from decaying, and save your heavy attacks for the moments when the boss commits to a slow attack.
Weapon Upgrades and Combo Scaling
Weapon upgrades in Mortal Shell II directly affect your combo potential. The extensive weapon upgrades mentioned on the Steam page let you increase damage, posture damage, and attack speed. Prioritizing posture damage upgrades makes your light chains more effective at breaking enemies, while attack speed upgrades let you fit more hits into the same window.
The Tarstone system adds another layer of customization. Different Tarstones modify your attacks with elemental effects or bonus posture damage, which changes how your combos perform against specific enemy types. Experimenting with different combinations is part of the fun, and the official Mortal Shell II website has details on the available options.
Frequently Asked Questions
What is the best combo for breaking enemy posture quickly?
The most reliable posture-breaking combo is two light attacks followed by a charged heavy. The light attacks build initial posture while closing distance, and the charged heavy delivers a massive burst that often shatters the bar outright. This combo works on most mid-tier enemies and is safe enough to use in most situations.
How do I cancel a charged attack in Mortal Shell II?
You can cancel a charged attack by releasing the charge button and pressing dodge at the same time. This makes your character dodge instead of committing to the swing. The technique is useful for baiting enemy attacks, because the enemy reacts to your charge animation and commits to an attack that you can then punish.
Do light attack combos differ between weapons?
Yes, each weapon class has a unique light attack rhythm. The Hammer and Chisel completes its full chain faster than any other weapon, while the Greatsword swings slower but deals more posture damage per hit. You need to learn the timing for each weapon to maximize your combo efficiency.
Can I use Shell abilities in the middle of a combo?
Shell abilities can be activated at almost any point during a combo, and they do not reset your attack chain. This makes them excellent for extending combos or adding burst posture damage at the right moment. The key is to use them when the enemy is vulnerable, not as a panic button.
What is the best way to handle multiple enemies at once?
Charge a heavy to stagger the group, then chain a posture-break loop on the toughest shell while others recover. Keep them lined up and dodge sideways to avoid flanking. Prioritize the enemy with the fastest attack, not the biggest one.