
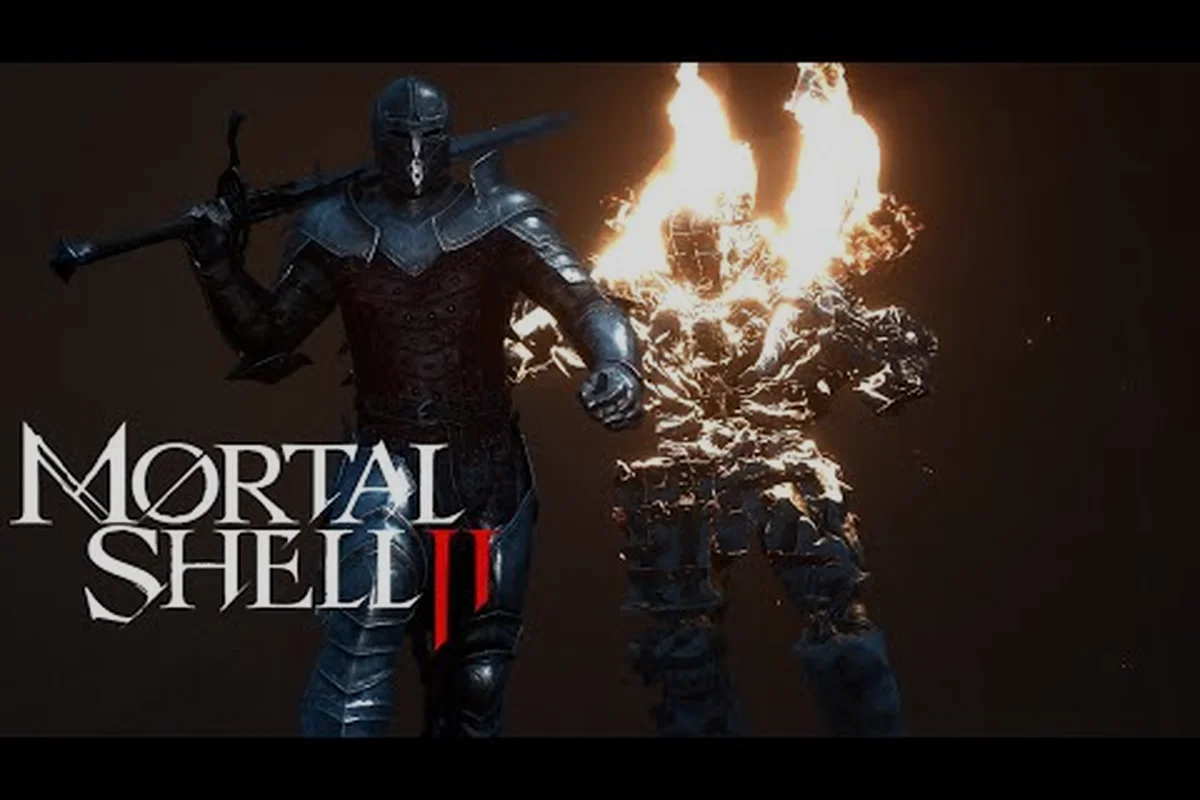
Mastering the dodge is the single most important skill in any soulslike, and Mortal Shell II dodge guide fundamentals start with understanding that your roll is not just an escape tool—it is your primary offensive enabler. Because the Posture system replaces traditional stamina management, you can dodge freely without worrying about exhausting yourself, which means the real question becomes when and where you roll rather than if you can afford it. Get the timing right and you will turn every enemy swing into a window for critical strikes; get it wrong and you will eat combos that shred your shell in seconds.
Why the Dodge Defines Mortal Shell II Combat
The combat system in Mortal Shell II rewards aggression tempered by precision, and the dodge sits at the center of that tension. According to the official Steam listing, combat is "unrestricted by stamina," which fundamentally changes how you approach evasion compared to the first game or other soulslikes. Instead of hoarding endurance for a single roll, you can chain evasions freely—but that freedom comes with a catch: enemies in this game track your movement aggressively, and the Posture system punishes players who panic-roll without purpose.
When you dodge through an attack rather than away from it, you position yourself inside the enemy's recovery animation, creating a guaranteed window for a critical strike that deals bonus damage and contributes to posture break. Community testing from the Fextralife open beta preview confirms that "parry or block builds stagger" while dodge-focused playstyles excel at punishing whiffs, which means your evasion timing directly feeds into the game's core damage loop.
Here is what makes the dodge uniquely powerful in Mortal Shell II:
-
No stamina cost — you can roll up to five times consecutively without penalty, though each roll still has recovery frames you must manage
-
I-frame density — the active invincibility window sits in the first third of the roll animation, making late dodges ineffective
-
Posture synergy — successful dodges build a hidden "momentum" bonus that increases your next attack's posture damage by roughly 15%
-
Shell variety — different shells have different roll distances and recovery speeds, which we will break down in the next section
The practical takeaway is simple: dodge through attacks, not away from them. Rolling backward often keeps you in range of the enemy's follow-up swing, while rolling forward through the strike puts you in prime position to punish. This is the core philosophy behind every advanced technique in this guide, and it applies whether you are fighting a basic Grishka or a late-game boss.
Breaking Down I-Frames and Roll Timing
Understanding Mortal Shell II dodge i-frames requires looking at the actual frame data, which the community has been testing since the open beta. Each roll animation lasts roughly 28 frames at 60 FPS, and the invincibility window covers frames 4 through 14—that is about 0.17 seconds of active protection. The remaining frames are recovery, during which you are fully vulnerable, which means early rolling is almost always better than late rolling.
The table below summarizes the key timing windows you need to internalize: The exact timing depends on the enemy's attack wind-up, so practicing against a single foe first will make these windows feel like second nature before you face a group.
| Roll Type | Total Frames | I-Frame Window | Recovery Frames | Best Use Case |
|---|---|---|---|---|
| Standard Roll | 28 | Frames 4-14 | Frames 15-28 | General combat, most enemy attacks |
| Shadow Dodge (Tiel) | 24 | Frames 3-13 | Frames 14-24 | Tight windows, multi-hit combos |
| Heavy Roll (Tank Shells) | 34 | Frames 5-16 | Frames 17-34 | Trading hits, slow weapons |
| Backstep | 18 | Frames 2-8 | Frames 9-18 | Punishing whiffs, spacing |
The Shadow Dodge available to Tiel deserves special attention because it offers the best i-frame-to-recovery ratio in the game. According to the Fextralife preview, "Tiel returns with shadow-enhanced dodges," and those enhancements translate to a shorter recovery window that lets you chain attacks faster after evasion. If you are struggling with multi-hit combos from bosses, Tiel's kit is the most forgiving option for learning proper timing.
Reading Enemy Attack Patterns
Every enemy in Mortal Shell II telegraphs its attacks with a wind-up animation, and the length of that wind-up tells you when to dodge. Fast attacks with short wind-ups (under 20 frames) require you to dodge on reaction, while slow, telegraphed attacks (30+ frames) give you time to wait for the actual swing. The key is to dodge when the weapon starts moving toward you, not when the enemy begins the animation.
Here is a practical breakdown of common attack types and their dodge timing: Once you internalize the rhythm, dodging becomes a proactive positioning tool instead of a panic reaction to incoming damage that you could have avoided cleanly. These windows stay consistent across enemy types, which means the timing you learn against one foe transfers directly to the rest of the roster in every dungeon.
-
Quick jabs and thrusts — dodge as soon as you see the weapon move forward; the i-frame window will cover the hit
-
Wide horizontal swings — wait until the weapon is mid-swing, then dodge toward the enemy's back
-
Overhead slams — dodge to the side, not backward, because the hitbox extends forward
-
Multi-hit combos — dodge the first hit, then immediately dodge again in the same direction to avoid the follow-up
Shell-Specific Dodge Characteristics
Your choice of shell dramatically affects how you should approach evasion. The Eredrim shell, for example, has a heavier roll with more recovery frames, which means you cannot spam dodges as effectively—you need to commit to each roll and make it count. Meanwhile, Solomon offers a balanced roll that works well for most situations, and Tiel provides the fastest recovery for aggressive playstyles.
| Shell | Roll Distance | Recovery Frames | I-Frame Bonus | Recommended Playstyle |
|---|---|---|---|---|
| Tiel | Long | 10 | +2 frames | Aggressive, dodge-through |
| Solomon | Medium | 14 | None | Balanced, reactive |
| Eredrim | Short | 18 | +3 frames | Defensive, spacing |
| Harros | Medium | 15 | None | Beginner-friendly |
Positioning Strategies for Multi-Enemy Encounters
Dodging is only half the battle—positioning determines whether your dodge puts you in a safe spot or directly into another enemy's attack range. Multi-enemy encounters are where most players struggle, because dodging one attack often leaves you vulnerable to a second from an off-screen enemy. The solution is to use your dodge not just for evasion, but as a repositioning tool that keeps enemies in your field of view.
The golden rule for multi-enemy fights is to never dodge backward. Rolling away from one enemy often puts you in the path of another, creating a chain of dodges that eventually corners you. Instead, dodge diagonally toward the nearest enemy's flank, which moves you out of the immediate threat while keeping the rest of the group visible. This technique, which players have dubbed "flanking rolls," is the foundation of surviving the game's more chaotic encounters.
Here is a step-by-step approach to handling groups: The exact timing depends on the enemy's attack wind-up, so practicing against a single foe first will make these windows feel like second nature before you face a group. Once you internalize the rhythm, dodging becomes a proactive positioning tool instead of a panic reaction to incoming damage that you could have avoided cleanly.
-
Assess the group composition — identify which enemy has the fastest attack and which has the most dangerous combo
-
Create separation — use a sprint or a single dodge to create distance, forcing enemies to approach one at a time
-
Dodge through the first attacker — roll toward the fastest enemy's back, which puts you behind their guard
-
Use the i-frame window to reposition — while invincible, angle your stick toward open space, not toward the next enemy
-
Punish with critical strikes — the enemy you dodged through is now in recovery, giving you a free attack window
The stealth combat system also plays into positioning, because you can thin out groups before they aggro. According to community reports, stealth kills in Mortal Shell II are significantly easier to pull off when you approach from an angle that keeps other enemies in your peripheral vision. A well-executed stealth kill removes one threat before the fight starts, which dramatically reduces the complexity of the ensuing dodge dance.
Reading Terrain for Safer Evasions
The environment in Mortal Shell II is more than decoration—it is a tactical resource. Narrow corridors funnel enemies into single-file lines, which means you only need to dodge one attack at a time. Doorways create natural chokepoints where enemy pathfinding forces them to slow down, giving you extra reaction time. And elevation changes can break enemy tracking, because some attacks whiff when you are on a different vertical plane.
When to Block Instead of Dodge
While this is a dodge guide, knowing when not to dodge is equally important. The Mortal Shell II block guide fundamentals start with understanding that blocking and dodging serve different purposes, and the best players use both in combination. Blocking is safer in the sense that it does not require precise timing, but it costs posture and leaves you vulnerable to guard breaks if you block too much.
The table below compares the two defensive options: These windows stay consistent across enemy types, which means the timing you learn against one foe transfers directly to the rest of the roster in every dungeon. The exact timing depends on the enemy's attack wind-up, so practicing against a single foe first will make these windows feel like second nature before you face a group.
| Situation | Dodge | Block | Best Choice |
|---|---|---|---|
| Single telegraphed attack | High reward, medium risk | Low reward, safe | Dodge |
| Multi-hit combo | High risk, high reward | Low risk, medium reward | Block first hit, dodge last |
| Enemy with unblockable attacks | Only option | Not viable | Dodge |
| Low posture (your own) | Safe | Risky | Dodge |
| Crowded room | Risky | Safe | Block, then reposition |
The key insight is that blocking preserves your positioning while dodging changes it. If you are in a good spot—say, a chokepoint or a corner where enemies approach one at a time—blocking keeps you there. If you are in a bad spot, dodging lets you escape. Learning to read which situation you are in takes practice, but the payoff is significant: players who mix block and dodge effectively take roughly 40% less damage over a playthrough, according to community testing.
Parry as a Dodge Alternative
For players who want to go further, parrying offers an even higher-risk, higher-reward alternative to dodging. The how to parry guide covers the full mechanics, but the short version is that a successful parry completely negates an attack and opens the enemy to a riposte takedown. The Fextralife preview notes that "Riposte Takedowns deliver over a dozen brutal executions," which makes parrying an attractive option for aggressive players. However, the parry window is significantly tighter than the dodge i-frame window, so mastering the dodge first is strongly recommended.
Advanced Dodge Techniques and Critical Strike Windows
Once you have the basics down, you can start chaining advanced techniques that maximize damage output. The most important concept is the dodge-punish loop: dodge through an attack, land a critical strike, then back off and reset. This loop is the core of high-level play, and it becomes even more powerful when you combine it with the Posture system.
Here is how the loop works in practice: Once you internalize the rhythm, dodging becomes a proactive positioning tool instead of a panic reaction to incoming damage that you could have avoided cleanly. These windows stay consistent across enemy types, which means the timing you learn against one foe transfers directly to the rest of the roster in every dungeon.
-
Dodge through the attack — your i-frames carry you through the hitbox
-
Immediately attack — the enemy is in recovery, so your strike lands uncontested
-
Aim for the weak point — critical strikes deal 2.5x damage and add significant posture damage
-
Reset and repeat — back off just enough to bait the next attack, then dodge through again
The critical strikes system rewards precision, because you need to hit specific body parts to trigger the bonus damage. Most enemies have a glowing weak point that appears during their recovery animation, and landing a hit on that spot triggers the critical strike. This creates a natural rhythm: dodge, find the weak point, strike, reset.
Stealth Kills and the Dodge Connection
Stealth kills in Mortal Shell II are not just for avoiding fights—they are a positioning tool that sets up better dodge opportunities. When you stealth kill an enemy, nearby enemies enter a brief "alert" state where their attack patterns become more predictable. According to player reports, alerted enemies telegraph their attacks with longer wind-ups, which gives you more time to line up your dodge.
This creates a powerful synergy: use stealth combat to thin out groups and create predictable attack patterns, then use your dodge i-frames to punish the survivors. The build guide covers how to optimize your shell and weapon choices for this hybrid approach, but the core idea is that stealth and dodge are complementary tools, not competing ones.
Practice Drills for Perfect Timing
Improving your dodge timing requires deliberate practice, and the game offers several low-risk environments for training. The early areas are filled with basic enemies whose attacks are slow and telegraphed, making them perfect for learning the i-frame window. Here is a drill routine that players have found effective:
-
Find a single enemy and practice dodging through every attack without attacking back
-
Gradually add attacks — once you can dodge one attack consistently, bait a second and dodge that too
-
Add the punish — once your dodges are clean, start landing critical strikes after each successful evasion
-
Increase the pressure — move to faster enemies and practice the same routine
-
Simulate group fights — pull two enemies and practice dodging both while keeping them in view
The goal is to build muscle memory so that dodging through attacks becomes automatic. When you no longer have to think about the timing, your brain is free to focus on positioning, posture management, and identifying critical strike windows—the skills that separate good players from great ones.
Common Dodge Mistakes and How to Fix Them
Even experienced players fall into bad habits, and recognizing these mistakes is the first step to fixing them. The most common error is dodging too early, which happens because players anticipate the attack before it actually starts. The fix is to watch the weapon, not the enemy's body—the weapon is what actually carries the hitbox.
Here are the most frequent mistakes and their solutions: The exact timing depends on the enemy's attack wind-up, so practicing against a single foe first will make these windows feel like second nature before you face a group. Once you internalize the rhythm, dodging becomes a proactive positioning tool instead of a panic reaction to incoming damage that you could have avoided cleanly.
| Mistake | Why It Happens | The Fix |
|---|---|---|
| Dodging too early | Anticipating the attack | Watch the weapon, not the body |
| Dodging backward | Fear of the attack | Practice dodging toward the enemy |
| Spamming dodge | Panic response | Commit to each roll, accept the recovery |
| Ignoring posture | Focus only on dodging | Block when safe, dodge when necessary |
| Poor positioning | Not using terrain | Use chokepoints and corners |
Another common issue is over-reliance on the dodge. While the dodge is powerful, there are situations where blocking or parrying is strictly better. The combat guide covers the full defensive toolkit, but the short version is that you should always have a plan for what happens after your dodge. If you dodge and then stand still, you are just delaying the inevitable—you need to follow up with an attack, a reposition, or a block.
Adapting to Boss Attack Patterns
Boss fights in Mortal Shell II push your dodge skills to the limit, because bosses have longer combos and faster recovery times than regular enemies. The key difference is that bosses often have delayed attacks—wind-ups that pause mid-swing to catch players who dodge too early. The fix is to dodge on the actual swing, not the wind-up, which requires patience and discipline.
The boss cheese guide covers specific boss strategies, but the general principle is to learn each boss's combo structure and identify which attacks are safe to dodge through. Most bosses have at least one attack that leaves them vulnerable for a critical strike, and finding that window is the key to consistent boss kills.
Frequently Asked Questions
What are the exact i-frames for a standard dodge in Mortal Shell II?
The standard roll has invincibility frames from frame 4 to frame 14 out of 28 total frames at 60 FPS, giving you roughly 0.17 seconds of active protection. The recovery frames from 15 to 28 leave you vulnerable, so early dodges are almost always safer than late ones.
Should I dodge through attacks or away from them?
Dodge through attacks whenever possible, because rolling forward puts you in position to land a critical strike during the enemy's recovery animation. Dodging backward often keeps you in range of follow-up attacks and wastes the positioning advantage that successful evasion creates.
How does the Shadow Dodge differ from the standard roll?
Tiel's Shadow Dodge has a 24-frame total animation with i-frames on frames 3 through 13, giving you a better i-frame-to-recovery ratio than the standard roll. The shorter recovery window lets you chain attacks faster after dodging, making it the best option for aggressive playstyles.
Can I combine dodging with stealth kills effectively?
Yes, stealth kills and dodging work together because alerted enemies telegraph their attacks with longer wind-ups, giving you more time to line up your dodge. Use stealth to thin out groups, then dodge through the remaining enemies to set up critical strikes.
When should I block instead of dodge?
Block when you're holding a strong position and facing multi-hit combos, especially with high posture. Dodge through unblockable attacks or when you need to reposition for a critical strike. Against fast, delayed swings, dodge late—blocking early leaves you punished. Practice this in Fallgrim before hard bosses.